NEW!
Clinical Case with 3D-Printed Restorations
Requirements
The jury anonymously evaluates the submissions in the category according to the following criteria:
Diagnosis and Treatment Plan
The jury assesses whether the diagnosis is correct and whether the chosen plan is logical for the specific patient. A merely “complex plan” is not rewarded; the right plan is.
Design and Manufacturing Workflow
The jury assesses the quality of the CAD design and the logic of the manufacturing process: how the restoration was planned, how it was prepared for printing, and whether the design takes into account the material, thicknesses, supports, occlusion, and clinical goal. This criterion concerns the 3D-printed restoration itself, not the entire digital workflow.
Minimal Invasiveness
This criterion assesses how conservative the treatment is with respect to teeth, soft tissues, bone and occlusion. A higher score is given to a case in which the best possible result was achieved at a minimal biological cost.
Case Complexity
This criterion assesses the initial difficulty of the case: missing teeth, implants, occlusal problems, soft tissues, asymmetries, parafunctions, compromised aesthetics. It is not an assessment of how well the case was executed, but of how difficult it was.
Photodocumentation
The jury assesses whether the case is presented clearly, completely, and honestly. This includes before/after photos, intraoral photographs, occlusal views, radiographs, CAD screenshots, printed stages, and the final result.
Occlusion
This criterion assesses the functional logic: stable contacts, guidance, absence of traumatic contacts, control in laterotrusion/protrusion, and consideration of parafunctions.
General Treatment Execution
This is the overall quality of the clinical execution: preparations, surgery, soft-tissue management, provisional restorations, cementation/fixation, final finish. It assesses the overall craftsmanship of the treatment.
Digital Workflow Integration
This criterion assesses how well the digital data and tools are integrated: IOS, CBCT, face scan, CAD, 3D printing, guided surgery, mock-up, provisional, final. It is not important to use every technology, but to use them meaningfully and consistently.
Accuracy and Clinical Adaptation
The jury assesses the fit of the restoration in the mouth: marginal adaptation, proximal contacts, passive seating, soft-tissue emergence profile, and radiographic verification for implant-supported restorations. This is the real test of whether the digital file has become a clinically functioning restoration.
Added Value of Additive Manufacturing
This criterion assesses whether 3D printing brought real benefit to the case: better predictability, a faster protocol, better communication, provisional restorations, tissue shaping or easier execution. A high score is not given to a case where “something was simply printed”, but to one in which, without 3D printing, the result would have been more difficult, slower or less predictable.
Judging criteria
This category is aimed at clinical cases in which 3D printing plays a key role in treatment within one of the following dental fields: Fixed Restorations (definitive or provisional) and Removable Prosthodontics.
The category is open to completed clinical cases in which at least one key restoration or prosthesis was produced by 3D printing and used clinically in the patient.
Eligible work includes permanent and provisional restorations, prostheses, surgical guides, mock-ups, splints, and other intraoral appliances produced by additive manufacturing.
3D printing must play a real role in the treatment. Printing only a study or demonstration model does not qualify.
The case must have been treated personally by the applicant, or by a team in which the applicant was the lead clinician.
Treatment must be completed and the final restoration placed by the time the application is submitted.
Each applicant may submit one case in this category.
Case description
Submissions must include a short description of the clinical case in English, not longer than 6,000 characters.
Descriptions must outline:
Diagnosis
Treatment plan
Materials that were used according to the treatment protocol
Summary of the clinical case: Explain the real benefits that additive manufacturing brought to the case, for example better predictability, a faster protocol, better communication with the patient or team, provisional restorations, soft tissue shaping or easier execution. Note: The case should show that, without 3D printing, the result would have been more difficult, slower, or less predictable, not simply that something was printed.
Remove saliva, plaque, food, and crown-cement residue.
Use make-up when photographing the patient’s face.
The camera is centered at an appropriate angle.
Use a backdrop when necessary.
Retractors, mirrors, and other elements must not be in the field of view.
Images must have good contrast, brightness, and white balance.
Photos must be symmetrical and properly cropped.
Objects in photos must be scaled appropriately.
Exclude any personal information, names, and initials patient’s and dental professional’s).
For the 3D printing part, the following must be documented:
– design process (screenshots)
– manufacturing process (screenshots of the printing software)
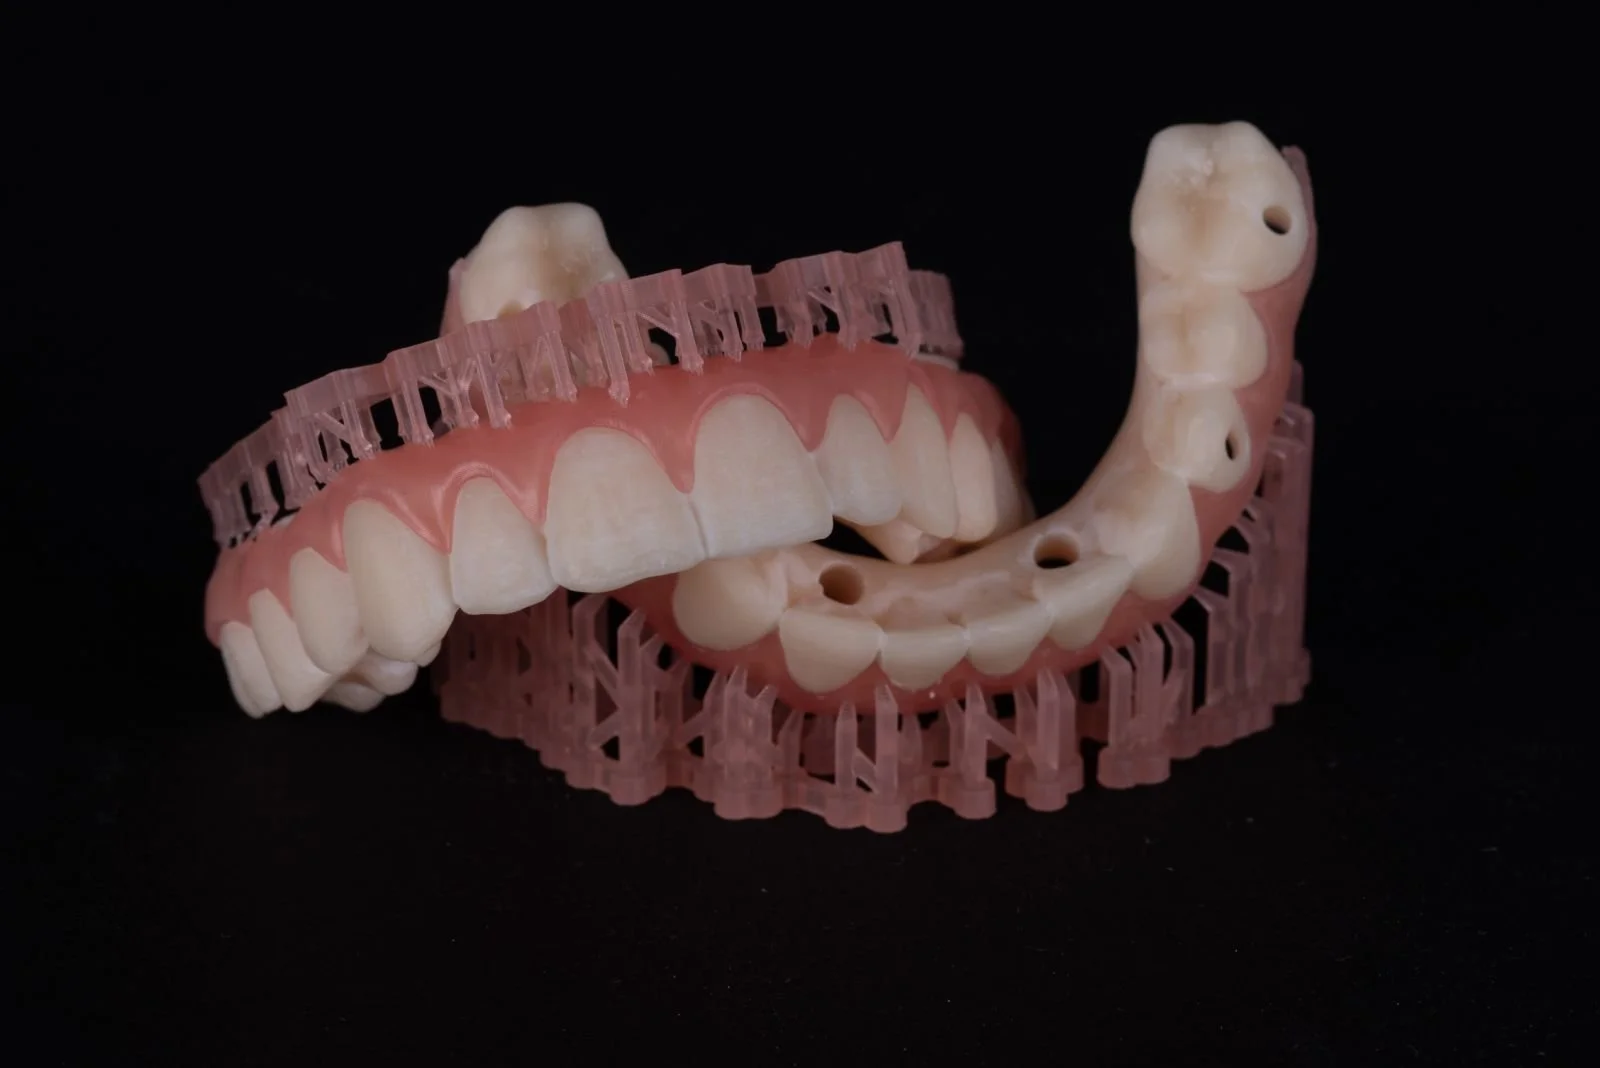
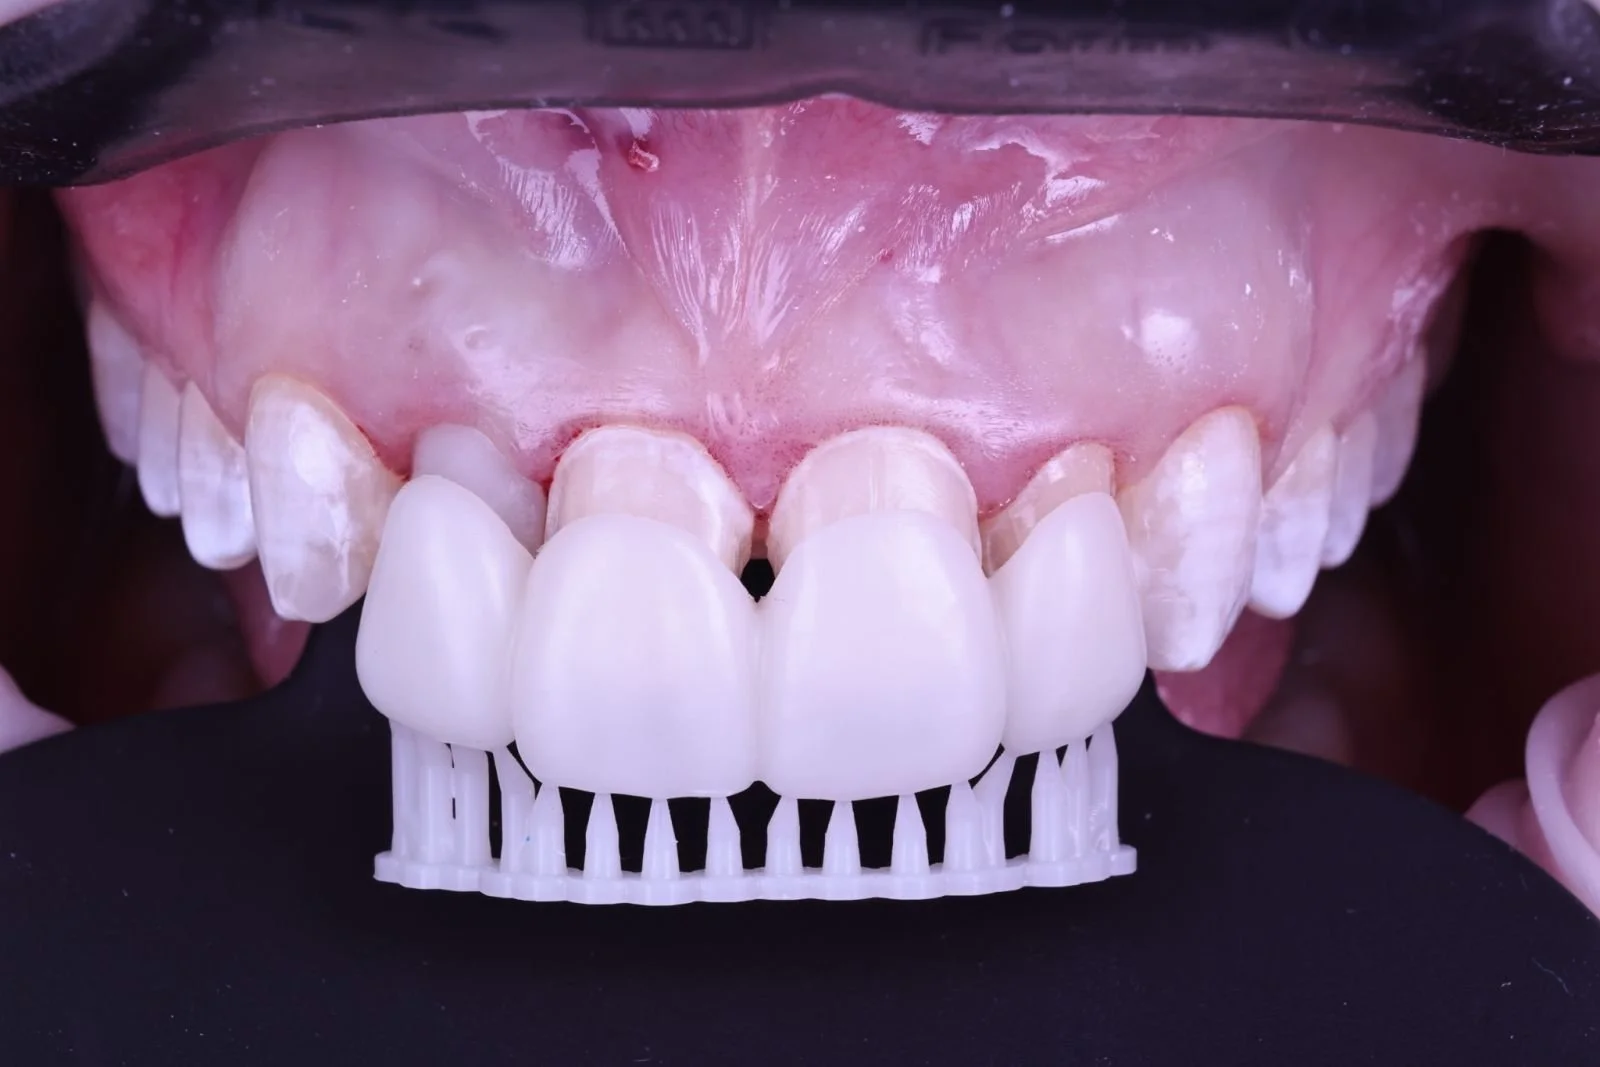
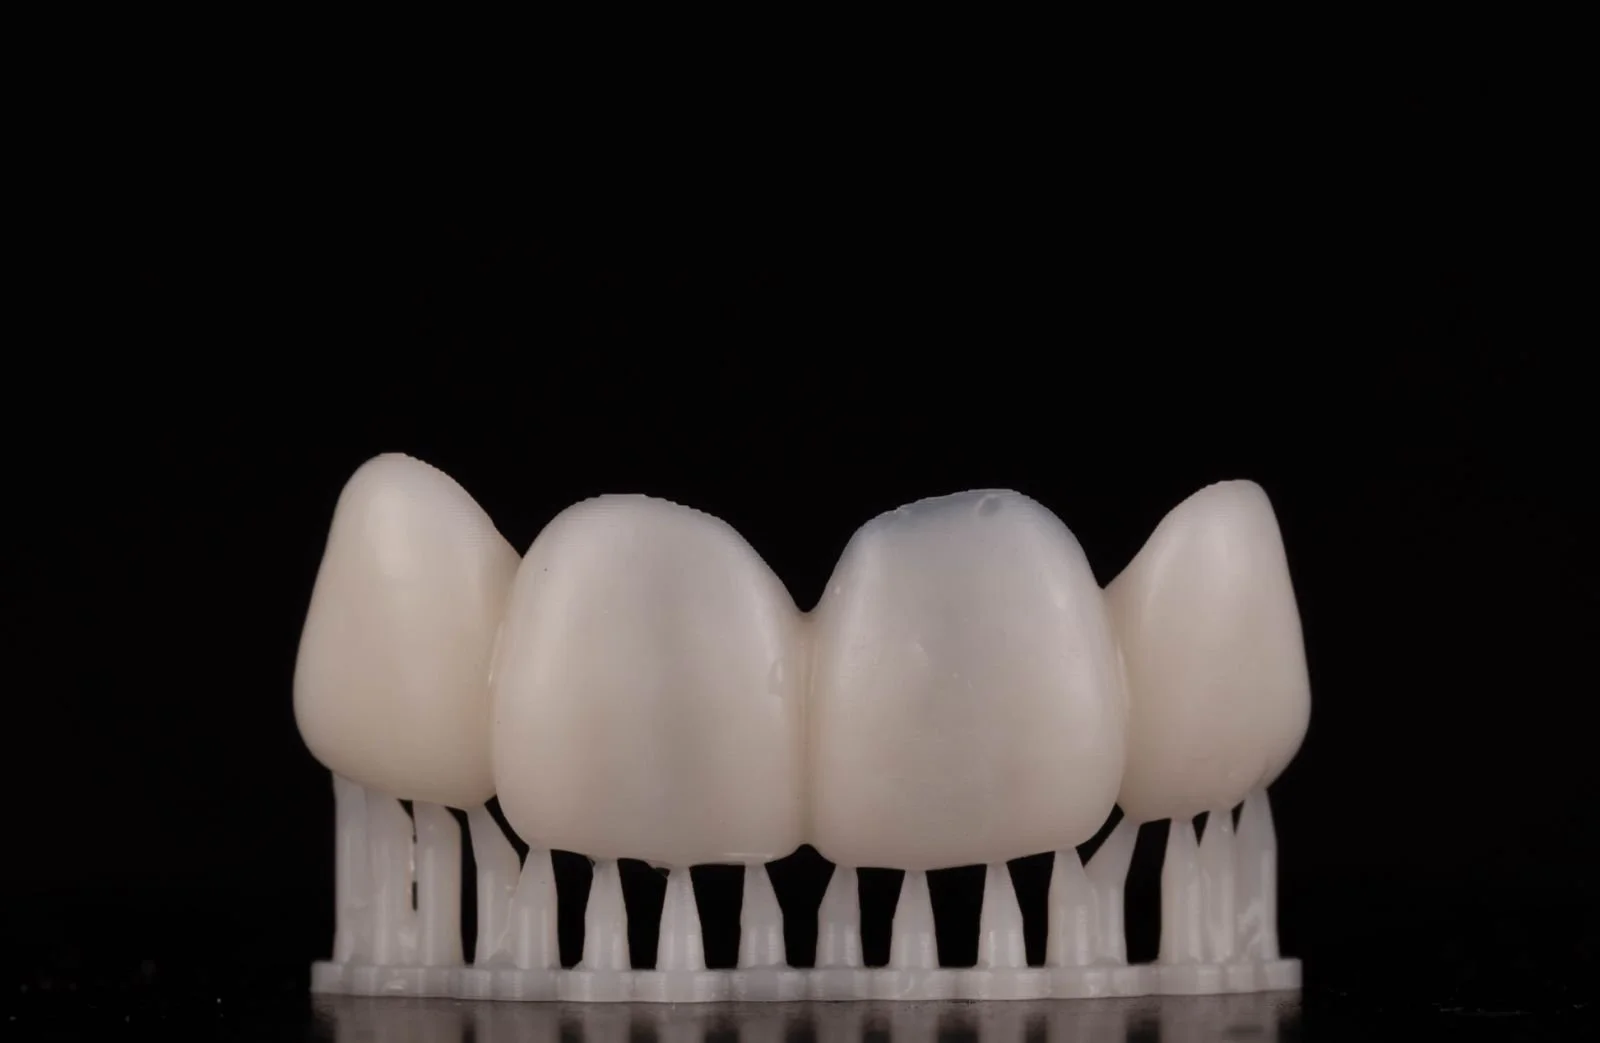
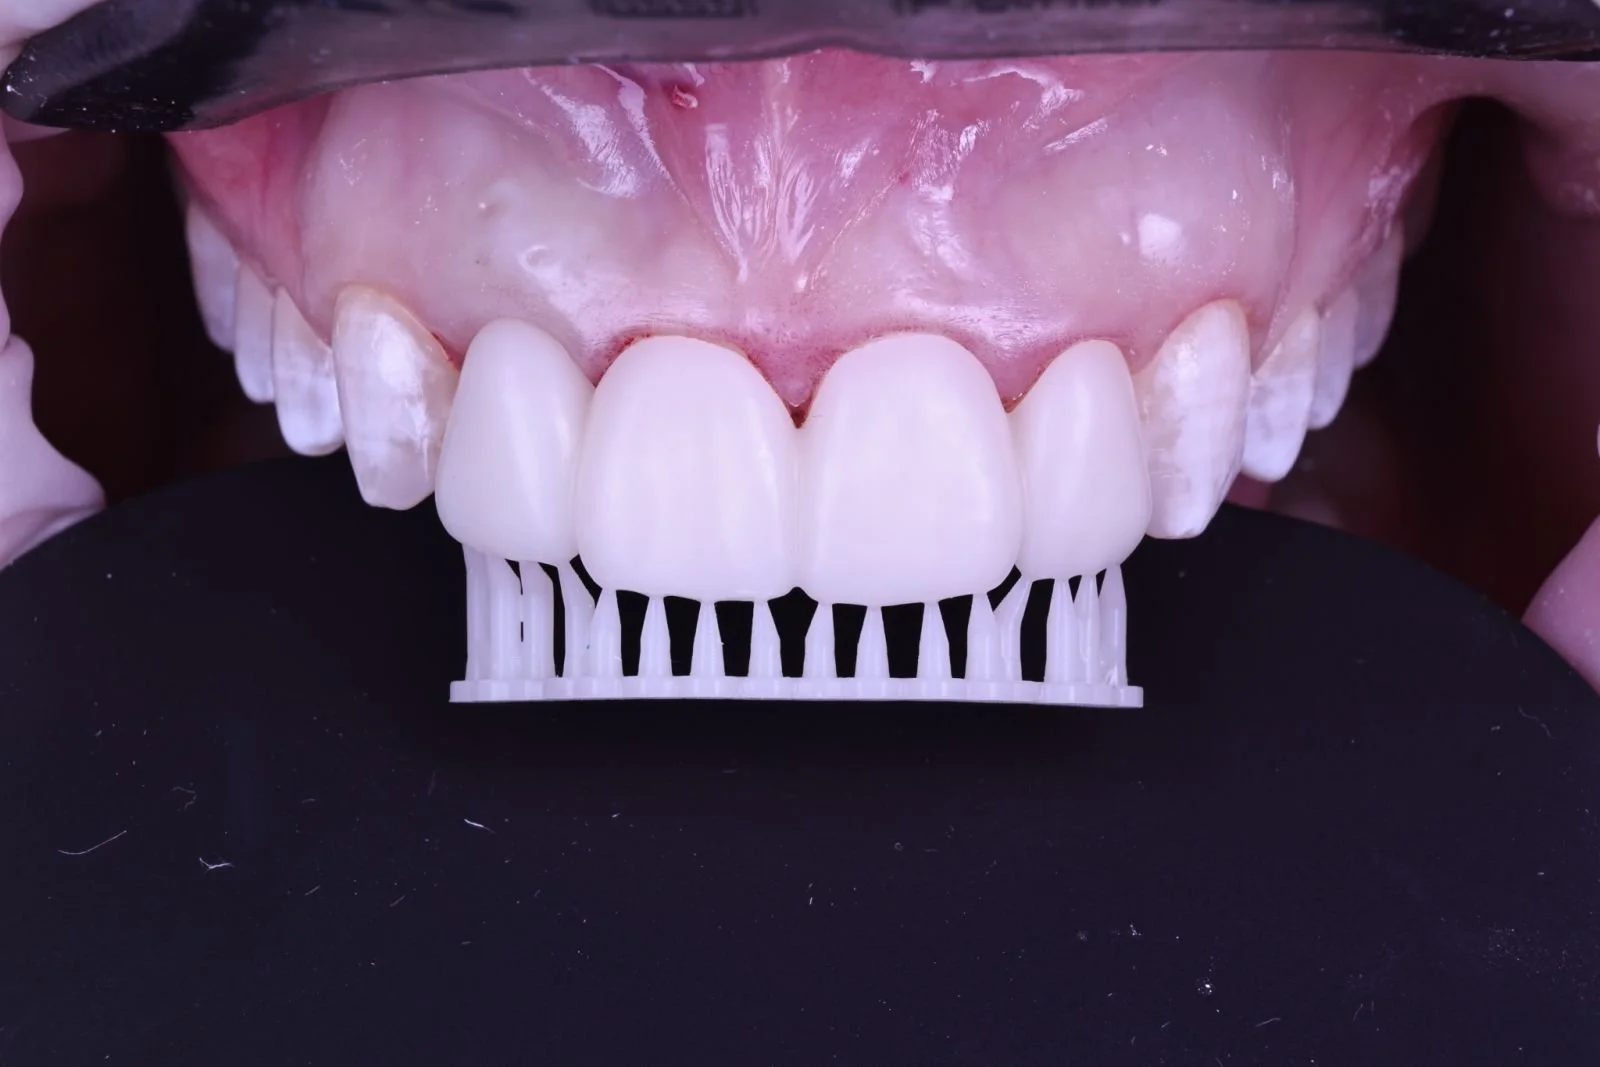
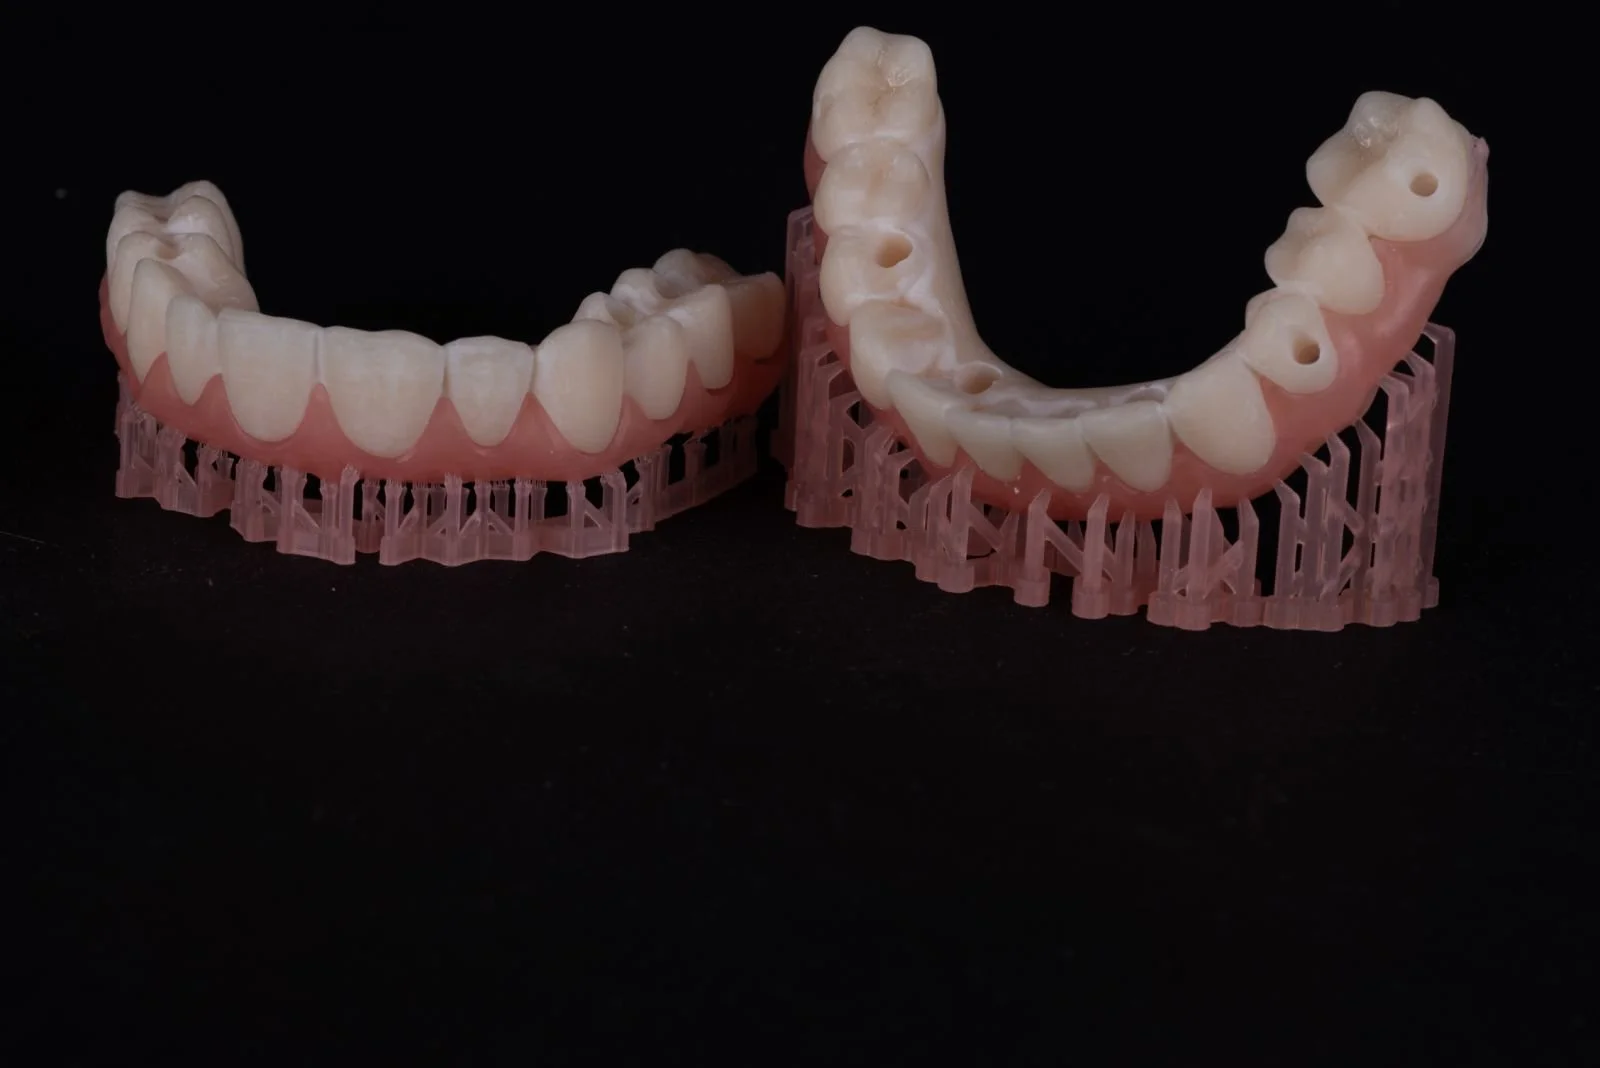
– printed restorations on the build platform (photos)
– final state, finished work (photos)
General photo documentation guidelines
2. Frontal smile
• 1:2 magnification.
• Lips and teeth are visible, natural smile.
• Camera is levelled with the smile.
• Camera is oriented on the incisal plane and the midline, as long as they coincide with the interpupillary line and the vertical midline of the face.
• In case of asymmetry, it must be apparent in the image.
• Focus is on the central incisors, the laterals, and the canines.
• Image is cropped to the mouth edges and a little above the upper lip.
Initial photo documentation (before treatment)
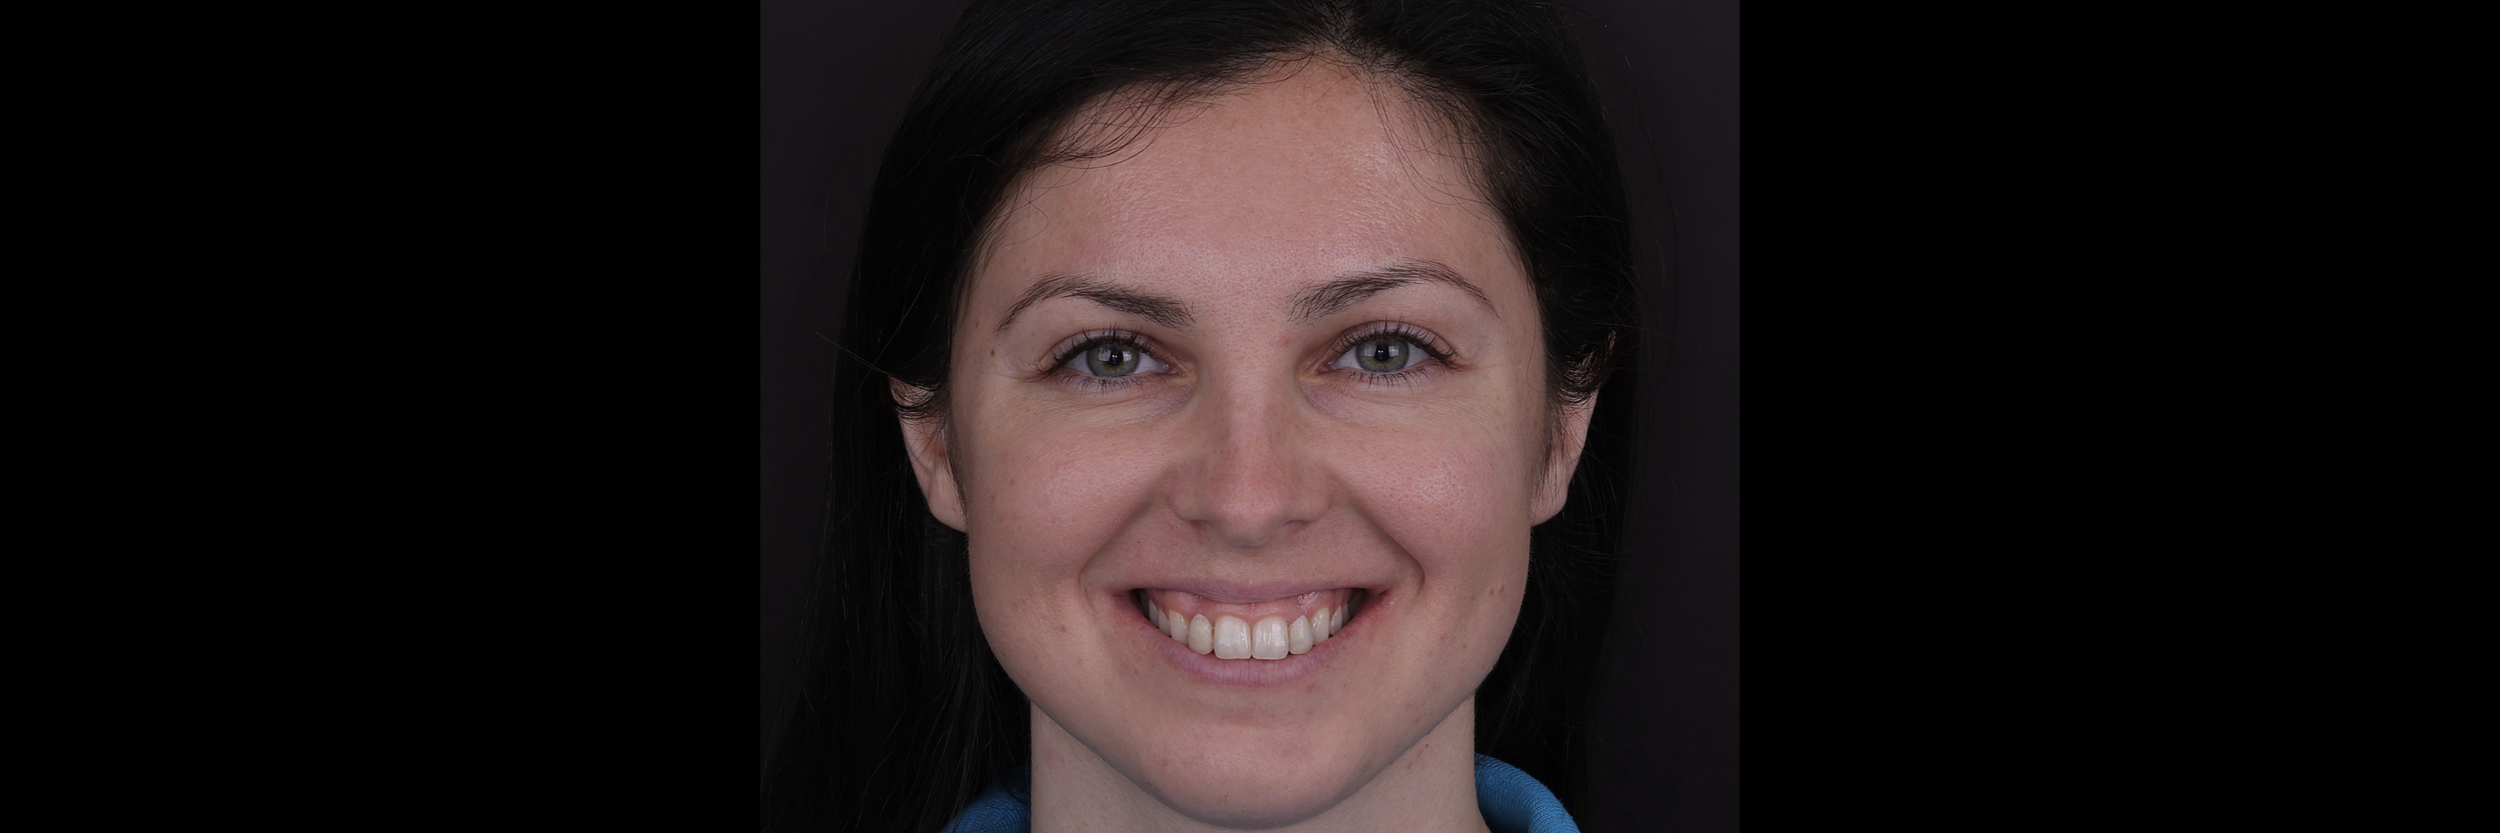
1. Full facial front, wide smile
• 1:10 magnification.
• Patient’s smile is wide and natural.
• Whole face is visible.
• Both dental arches are visible.
• Background shadows must be reduced.
• The philtrum and nose are centrally positioned in the frame.
• Patient’s head is straight up.
• Camera is levelled with the nose.
• Camera is oriented on the interpupillary line and the vertical midline of the face.
• Focus is on the teeth.
• Background is plain and undistracting.
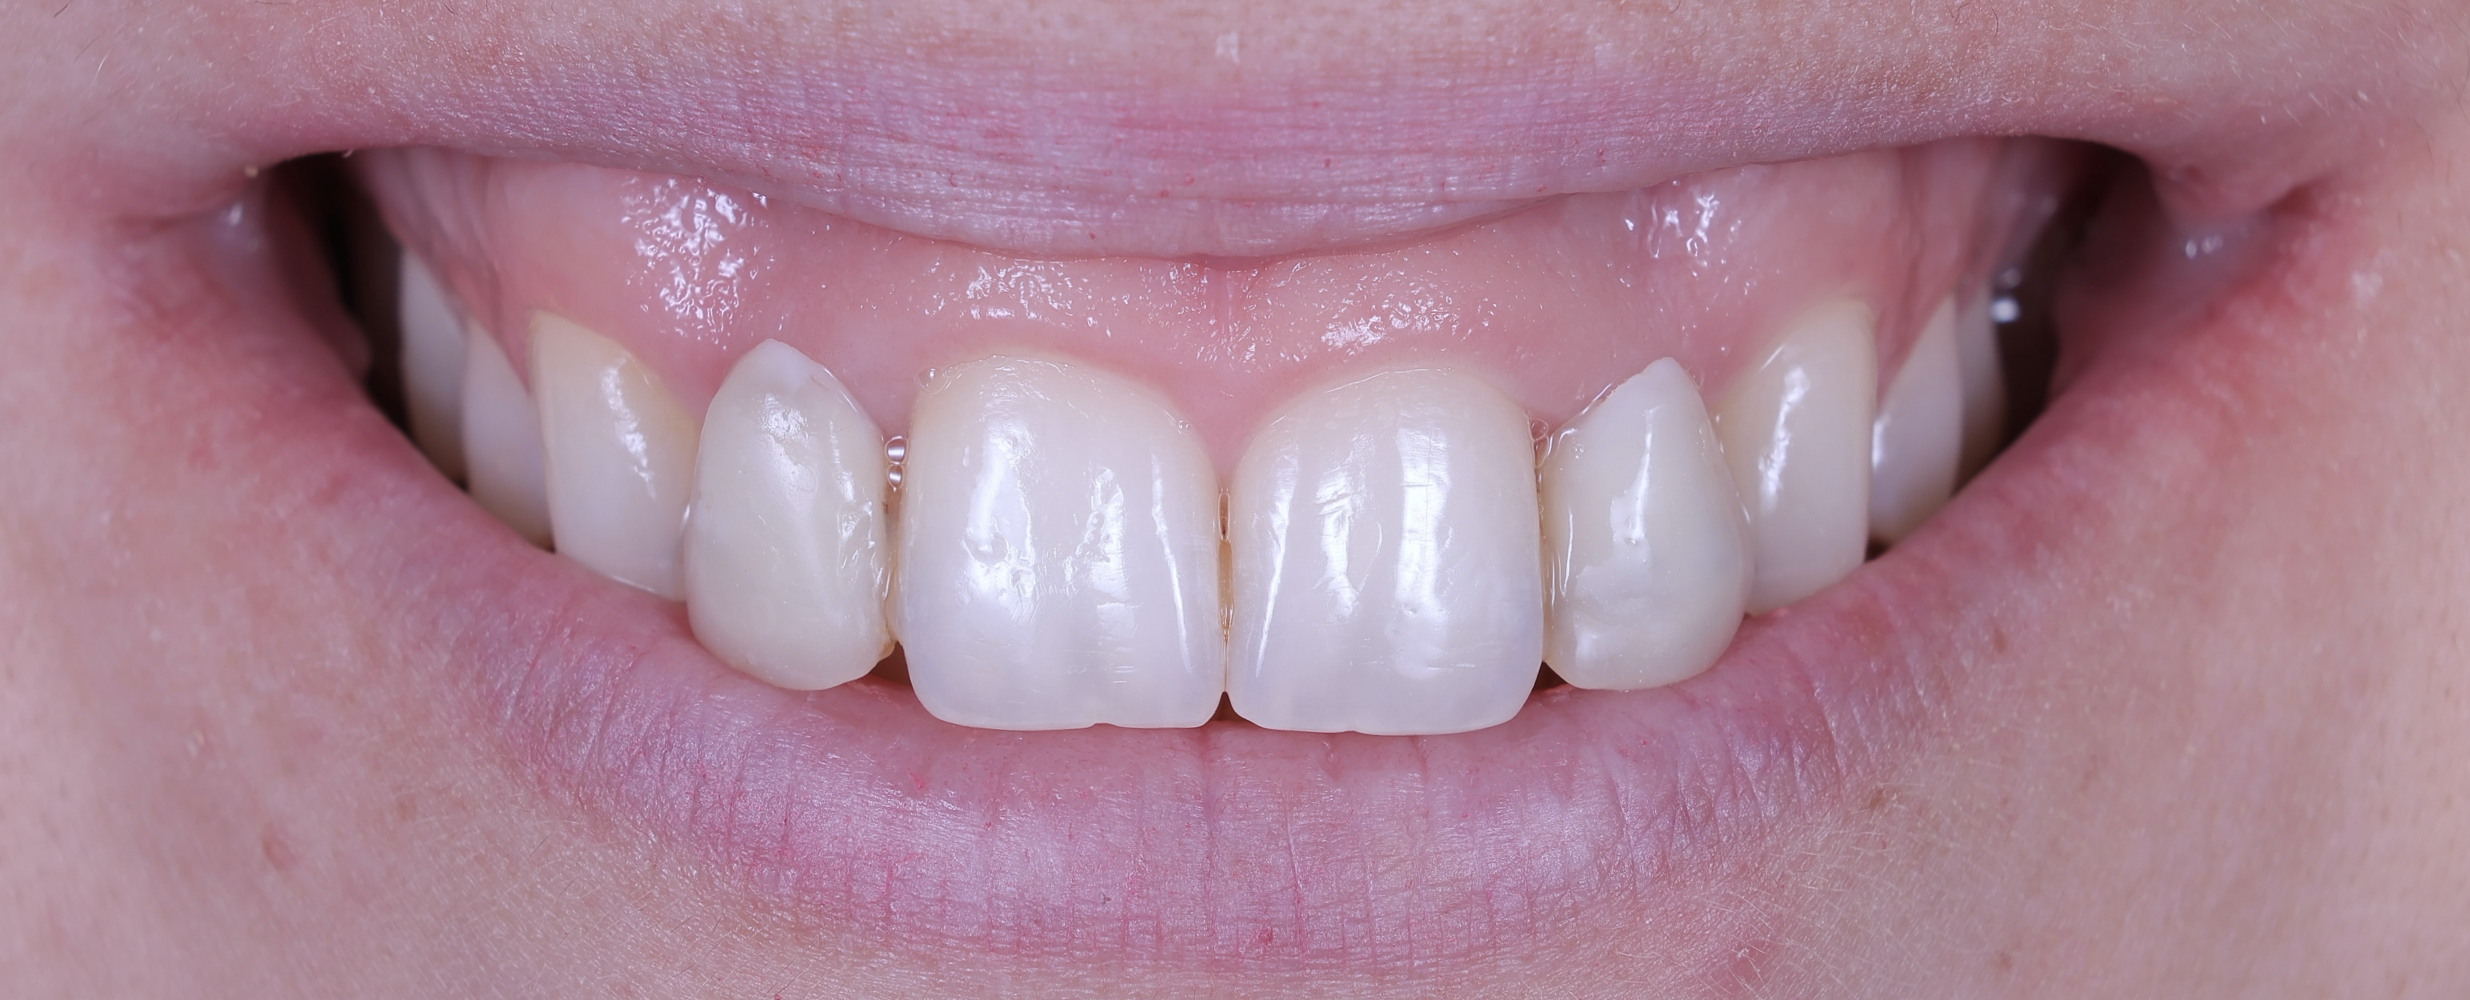
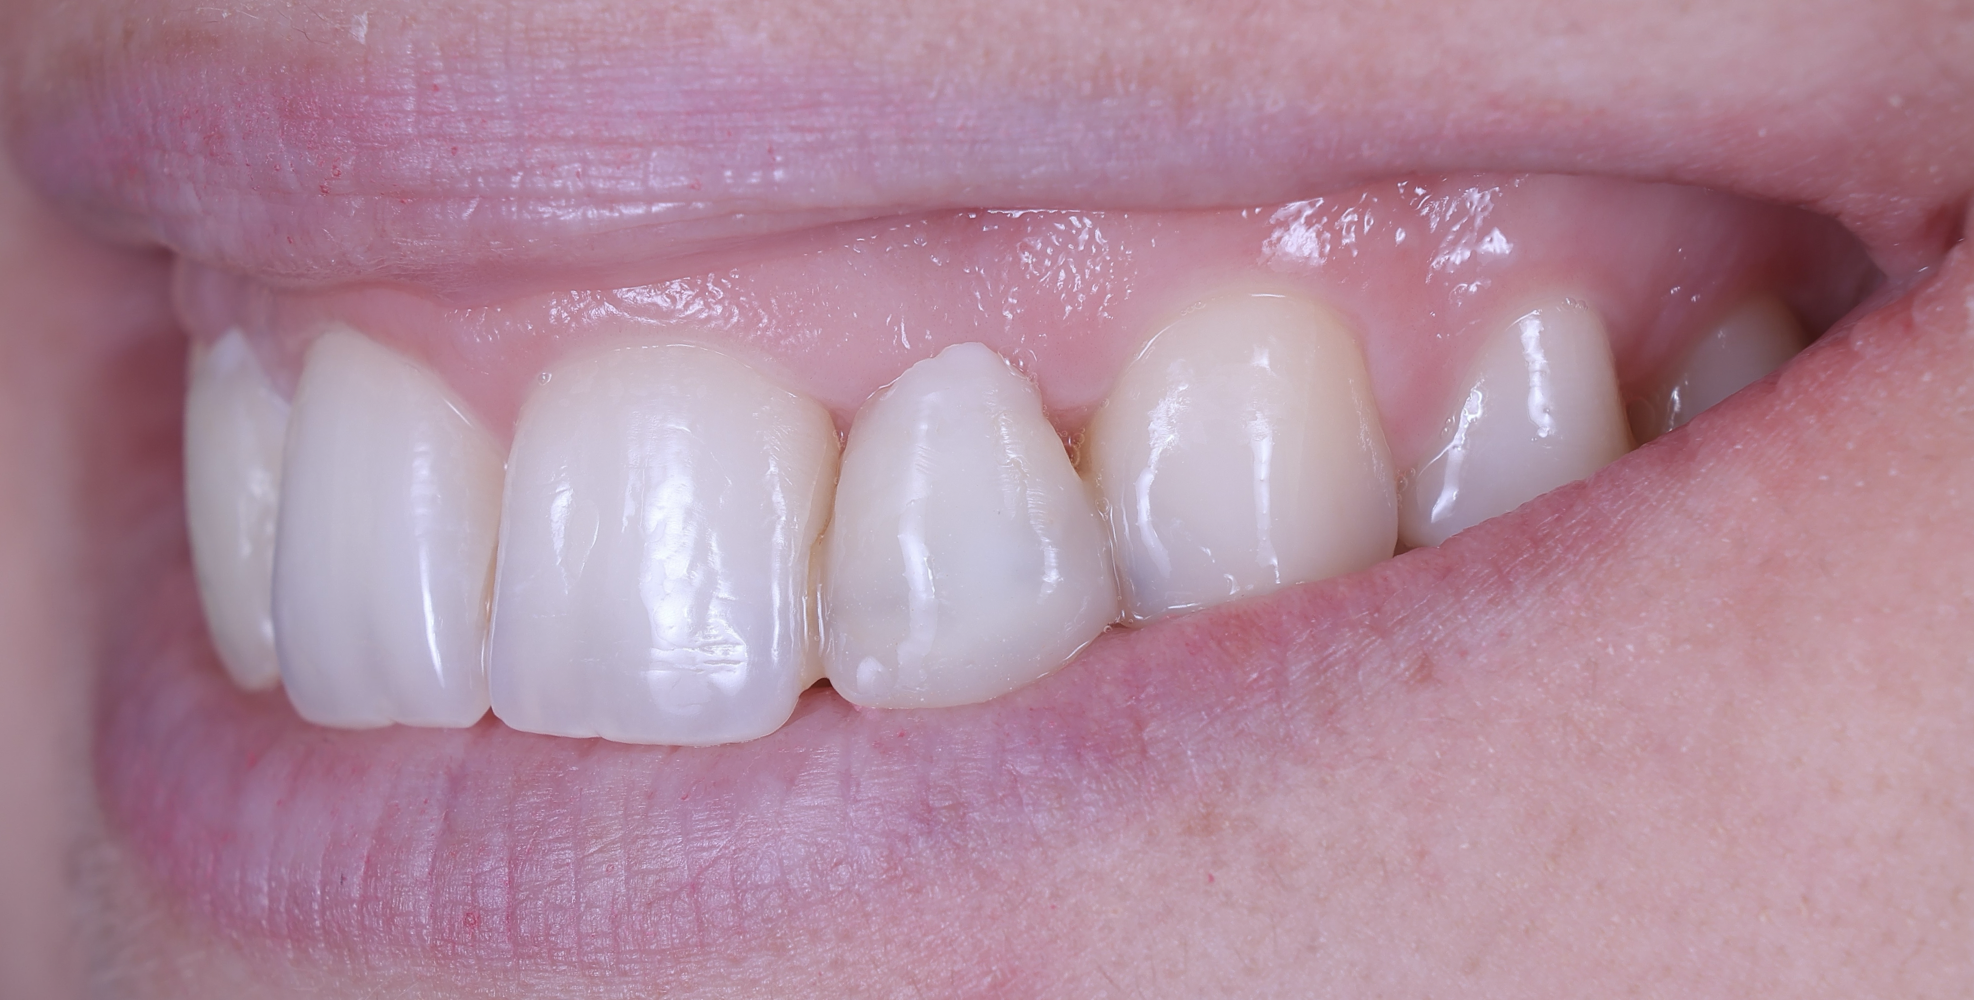
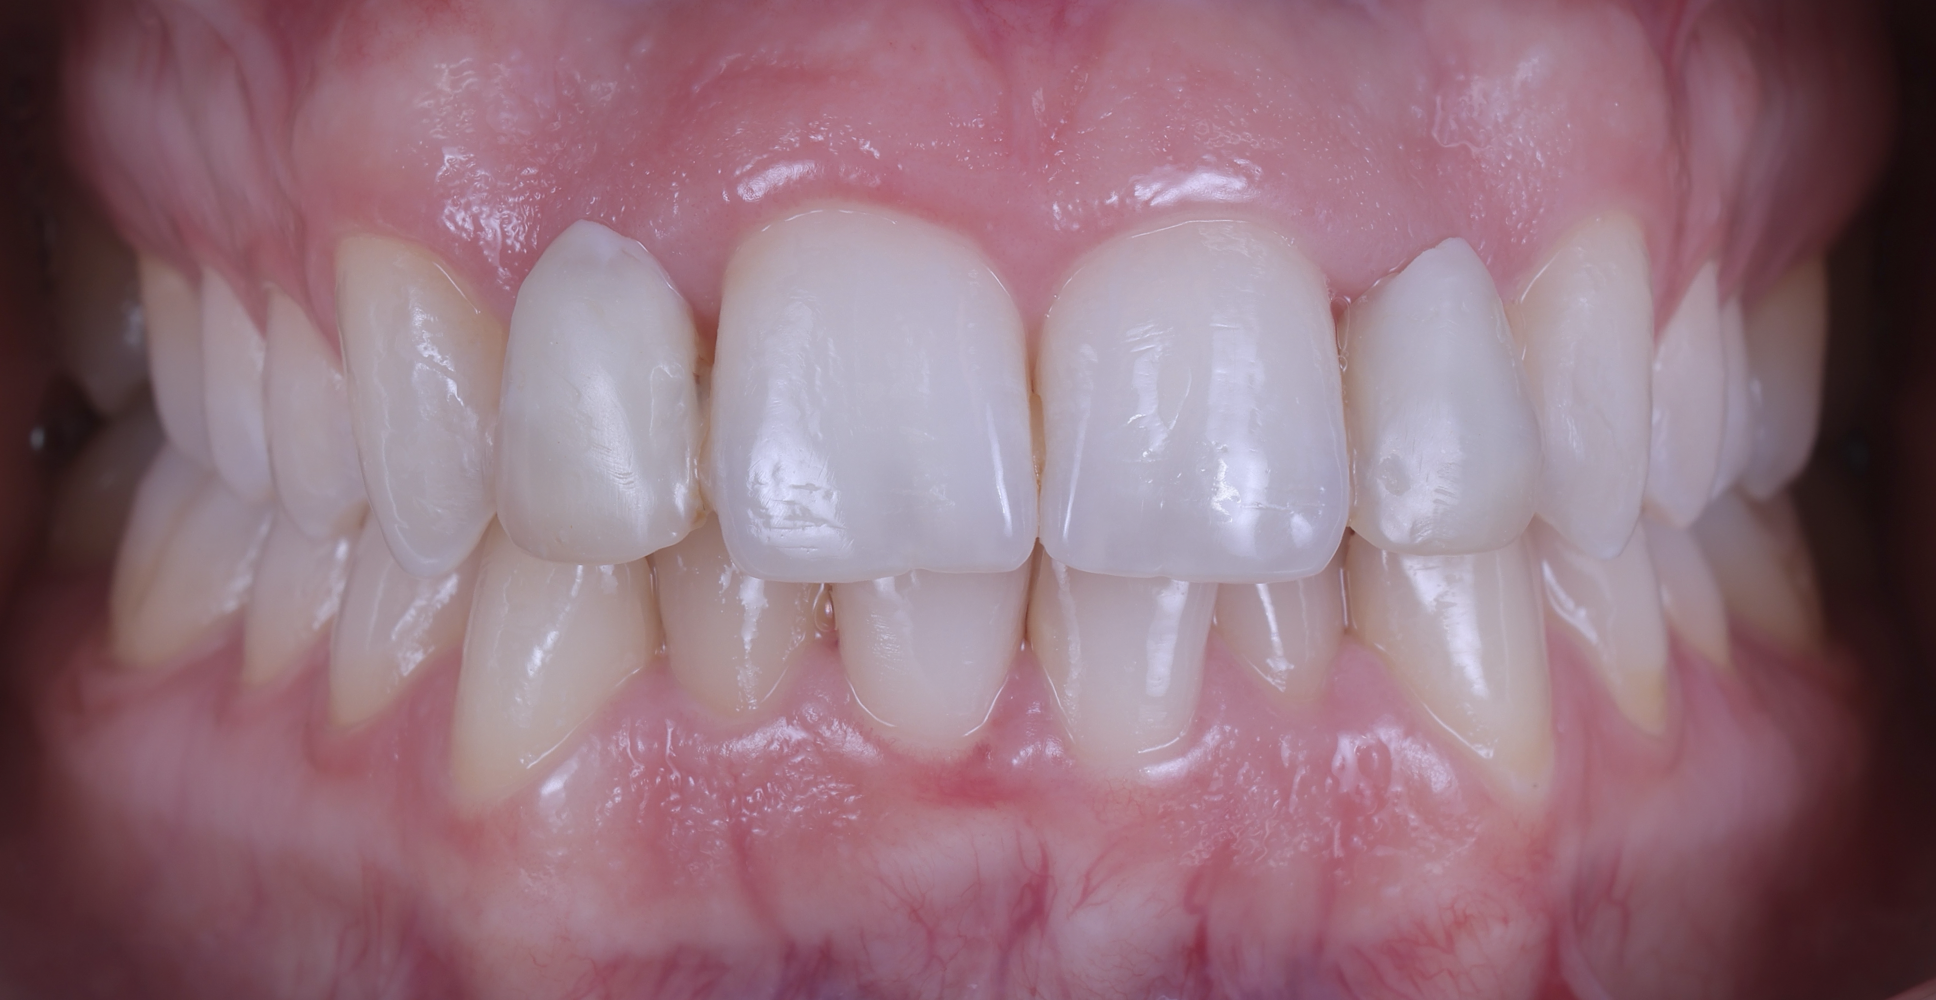
3. Full smile, left and right, non-retracted (frontal sagittal view)
• 1:2 magnification.
• Lips and teeth are visible, wide smile.
• Image is taken from the side so that the lateral incisor is in the center of the frame.
• The contralateral incisor and the canine must be visible, depending on arch size.
• The vertical midline is the lateral.
• Focus is on the lateral.
• Background might be necessary.
• Image is cropped to the nose, the top of the cheeks and the chin.
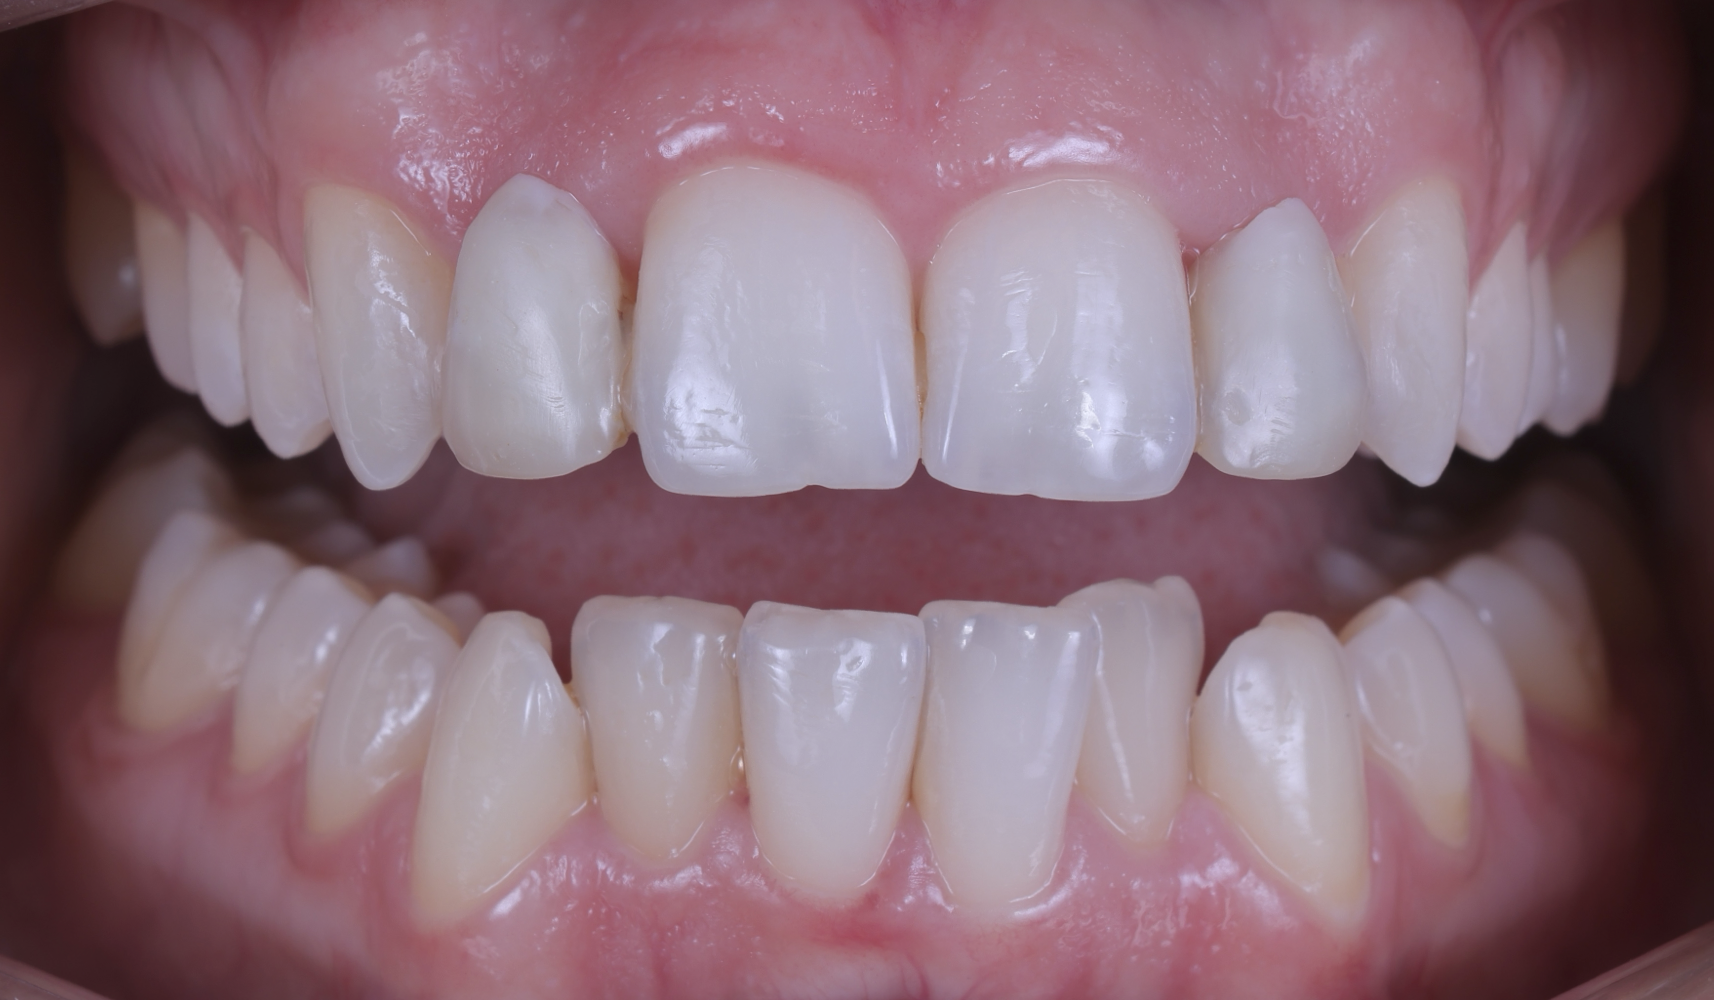
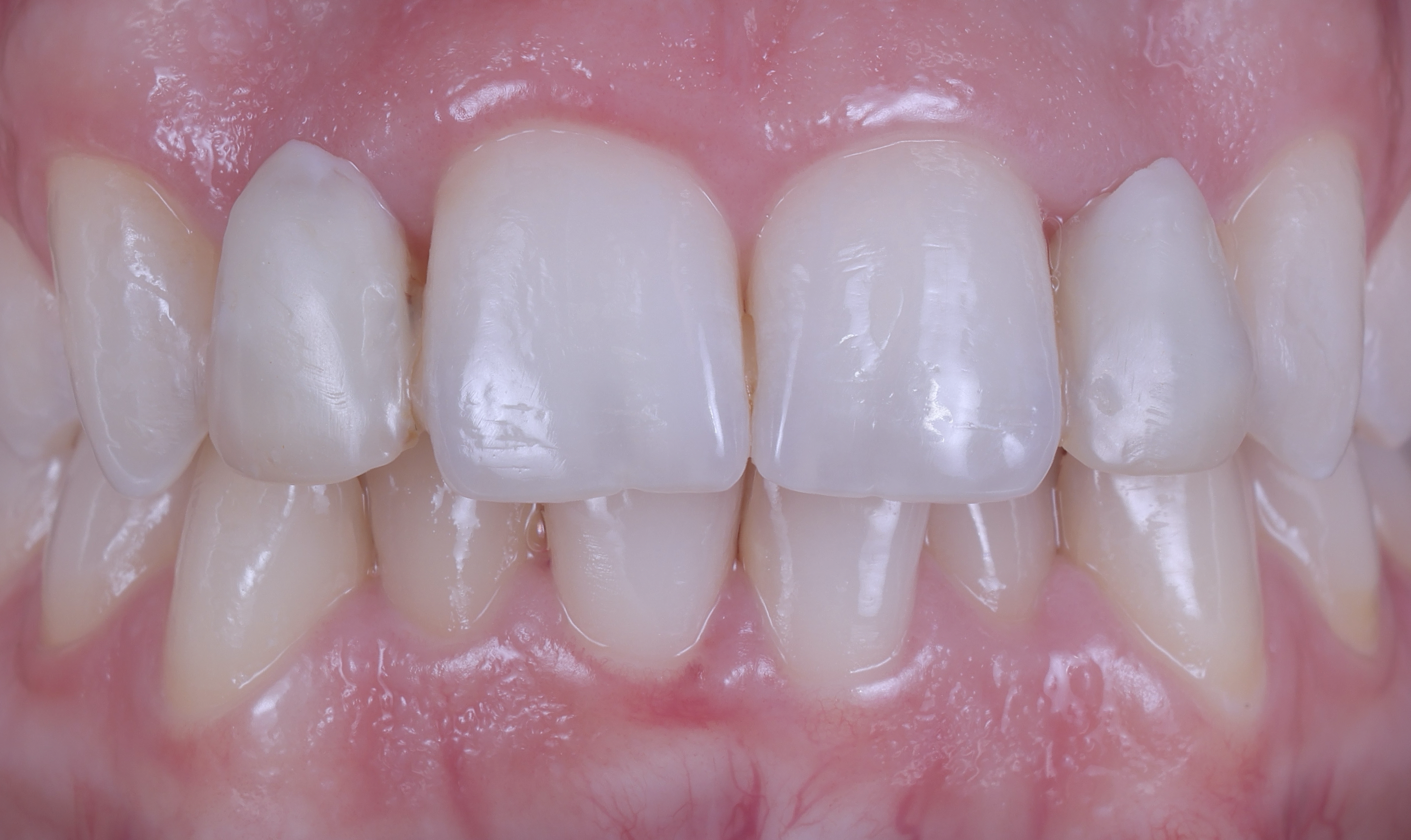
4. Frontal view, bite
• 1:2 magnification.
• Show as much of the gingiva and teeth as possible.
• The philtrum is centered.
• The incisal plane of the upper teeth is the horizontal midline of the image.
• Camera is levelled with the teeth.
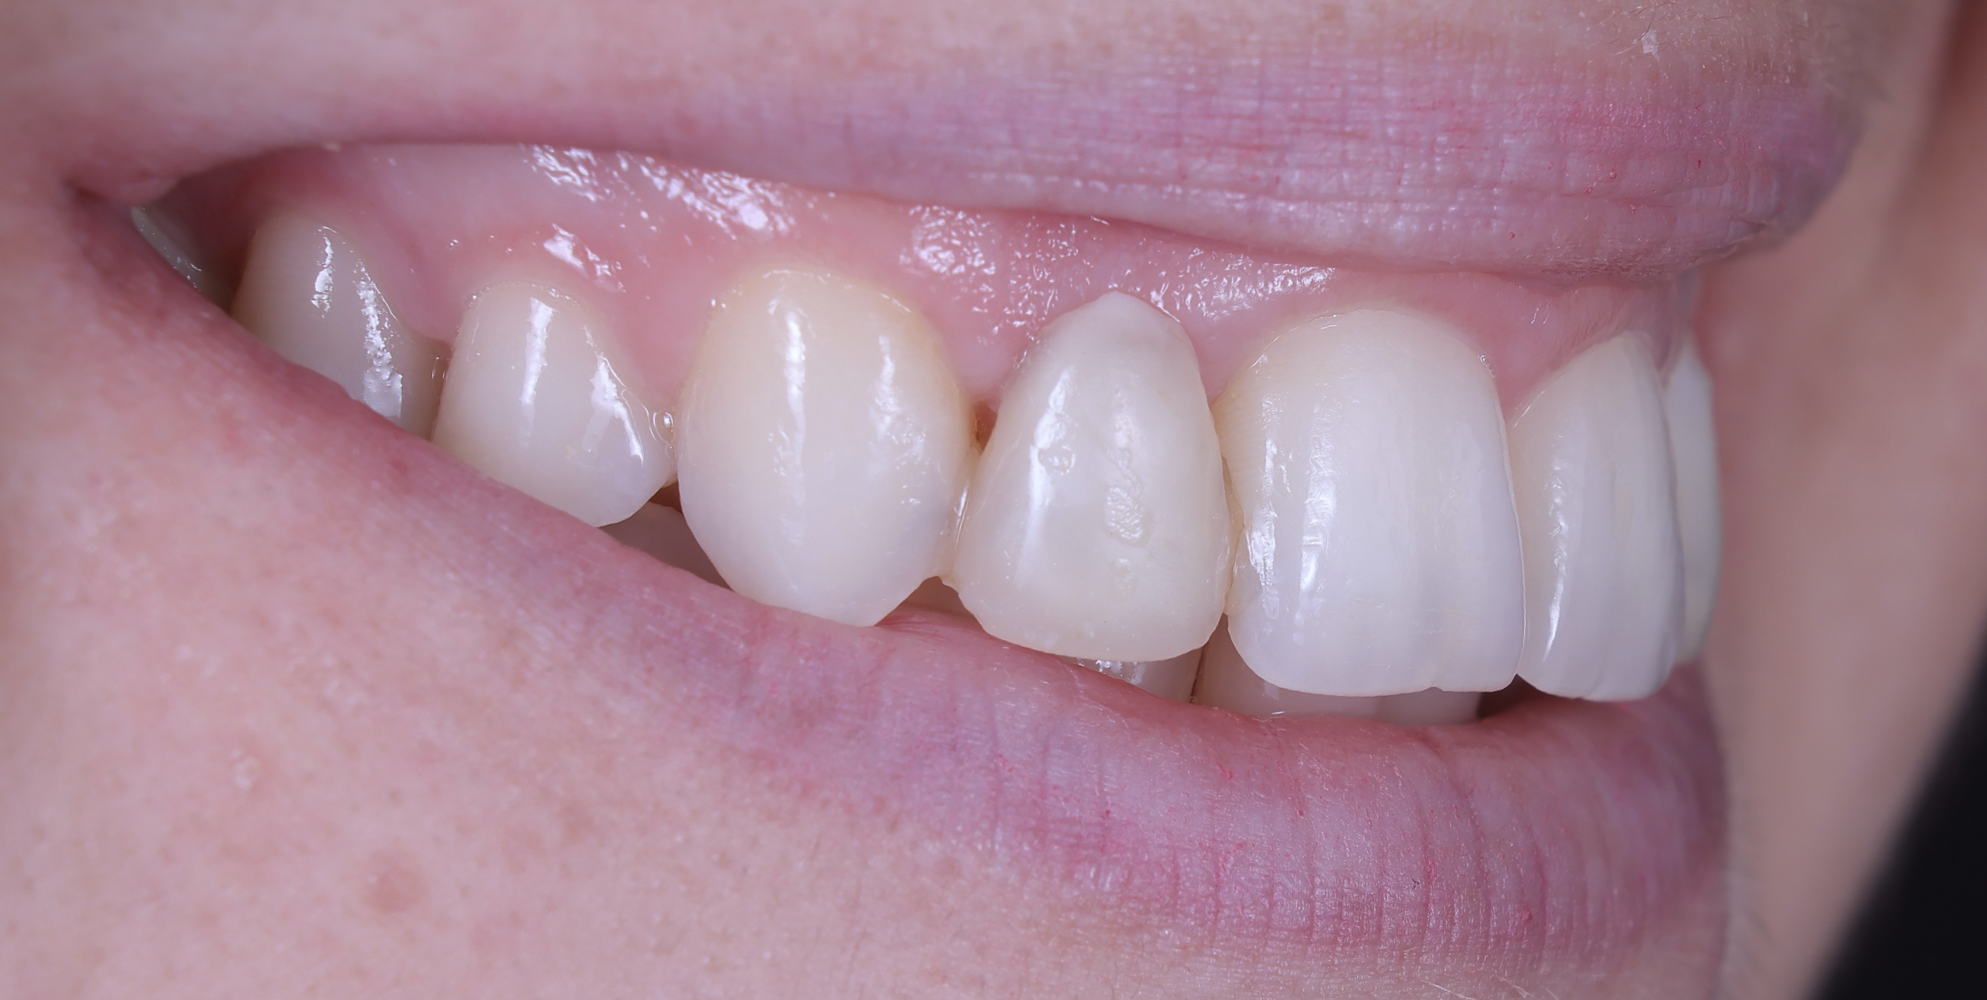
5. Frontal view, retracted (central view, teeth apart)
• 1:2 magnification.
• Upper and lower teeth are slightly parted so that the incisal edges are visible.
• Show as much of the gingiva as possible.
• No lips and retractors visible in the frame.
• Use the midline of the face as the vertical midline of the image.
• The incisal plane of the upper arch is the horizontal midline of the image.
• If there is asymmetry, it must be apparent in the picture.
• Camera is levelled with the teeth.
• Focus is on the central incisors, the laterals, and the canines.
6. Frontal view, upper and lower teeth, bite
• 1:1 magnification.
• The midline of the incisors is the vertical midline of the image.
• The horizontal midline of the image bisects the upper incisors.
• Selected 4-6 teeth are cropped out of the image.
• Show as much of the gingiva as possible.
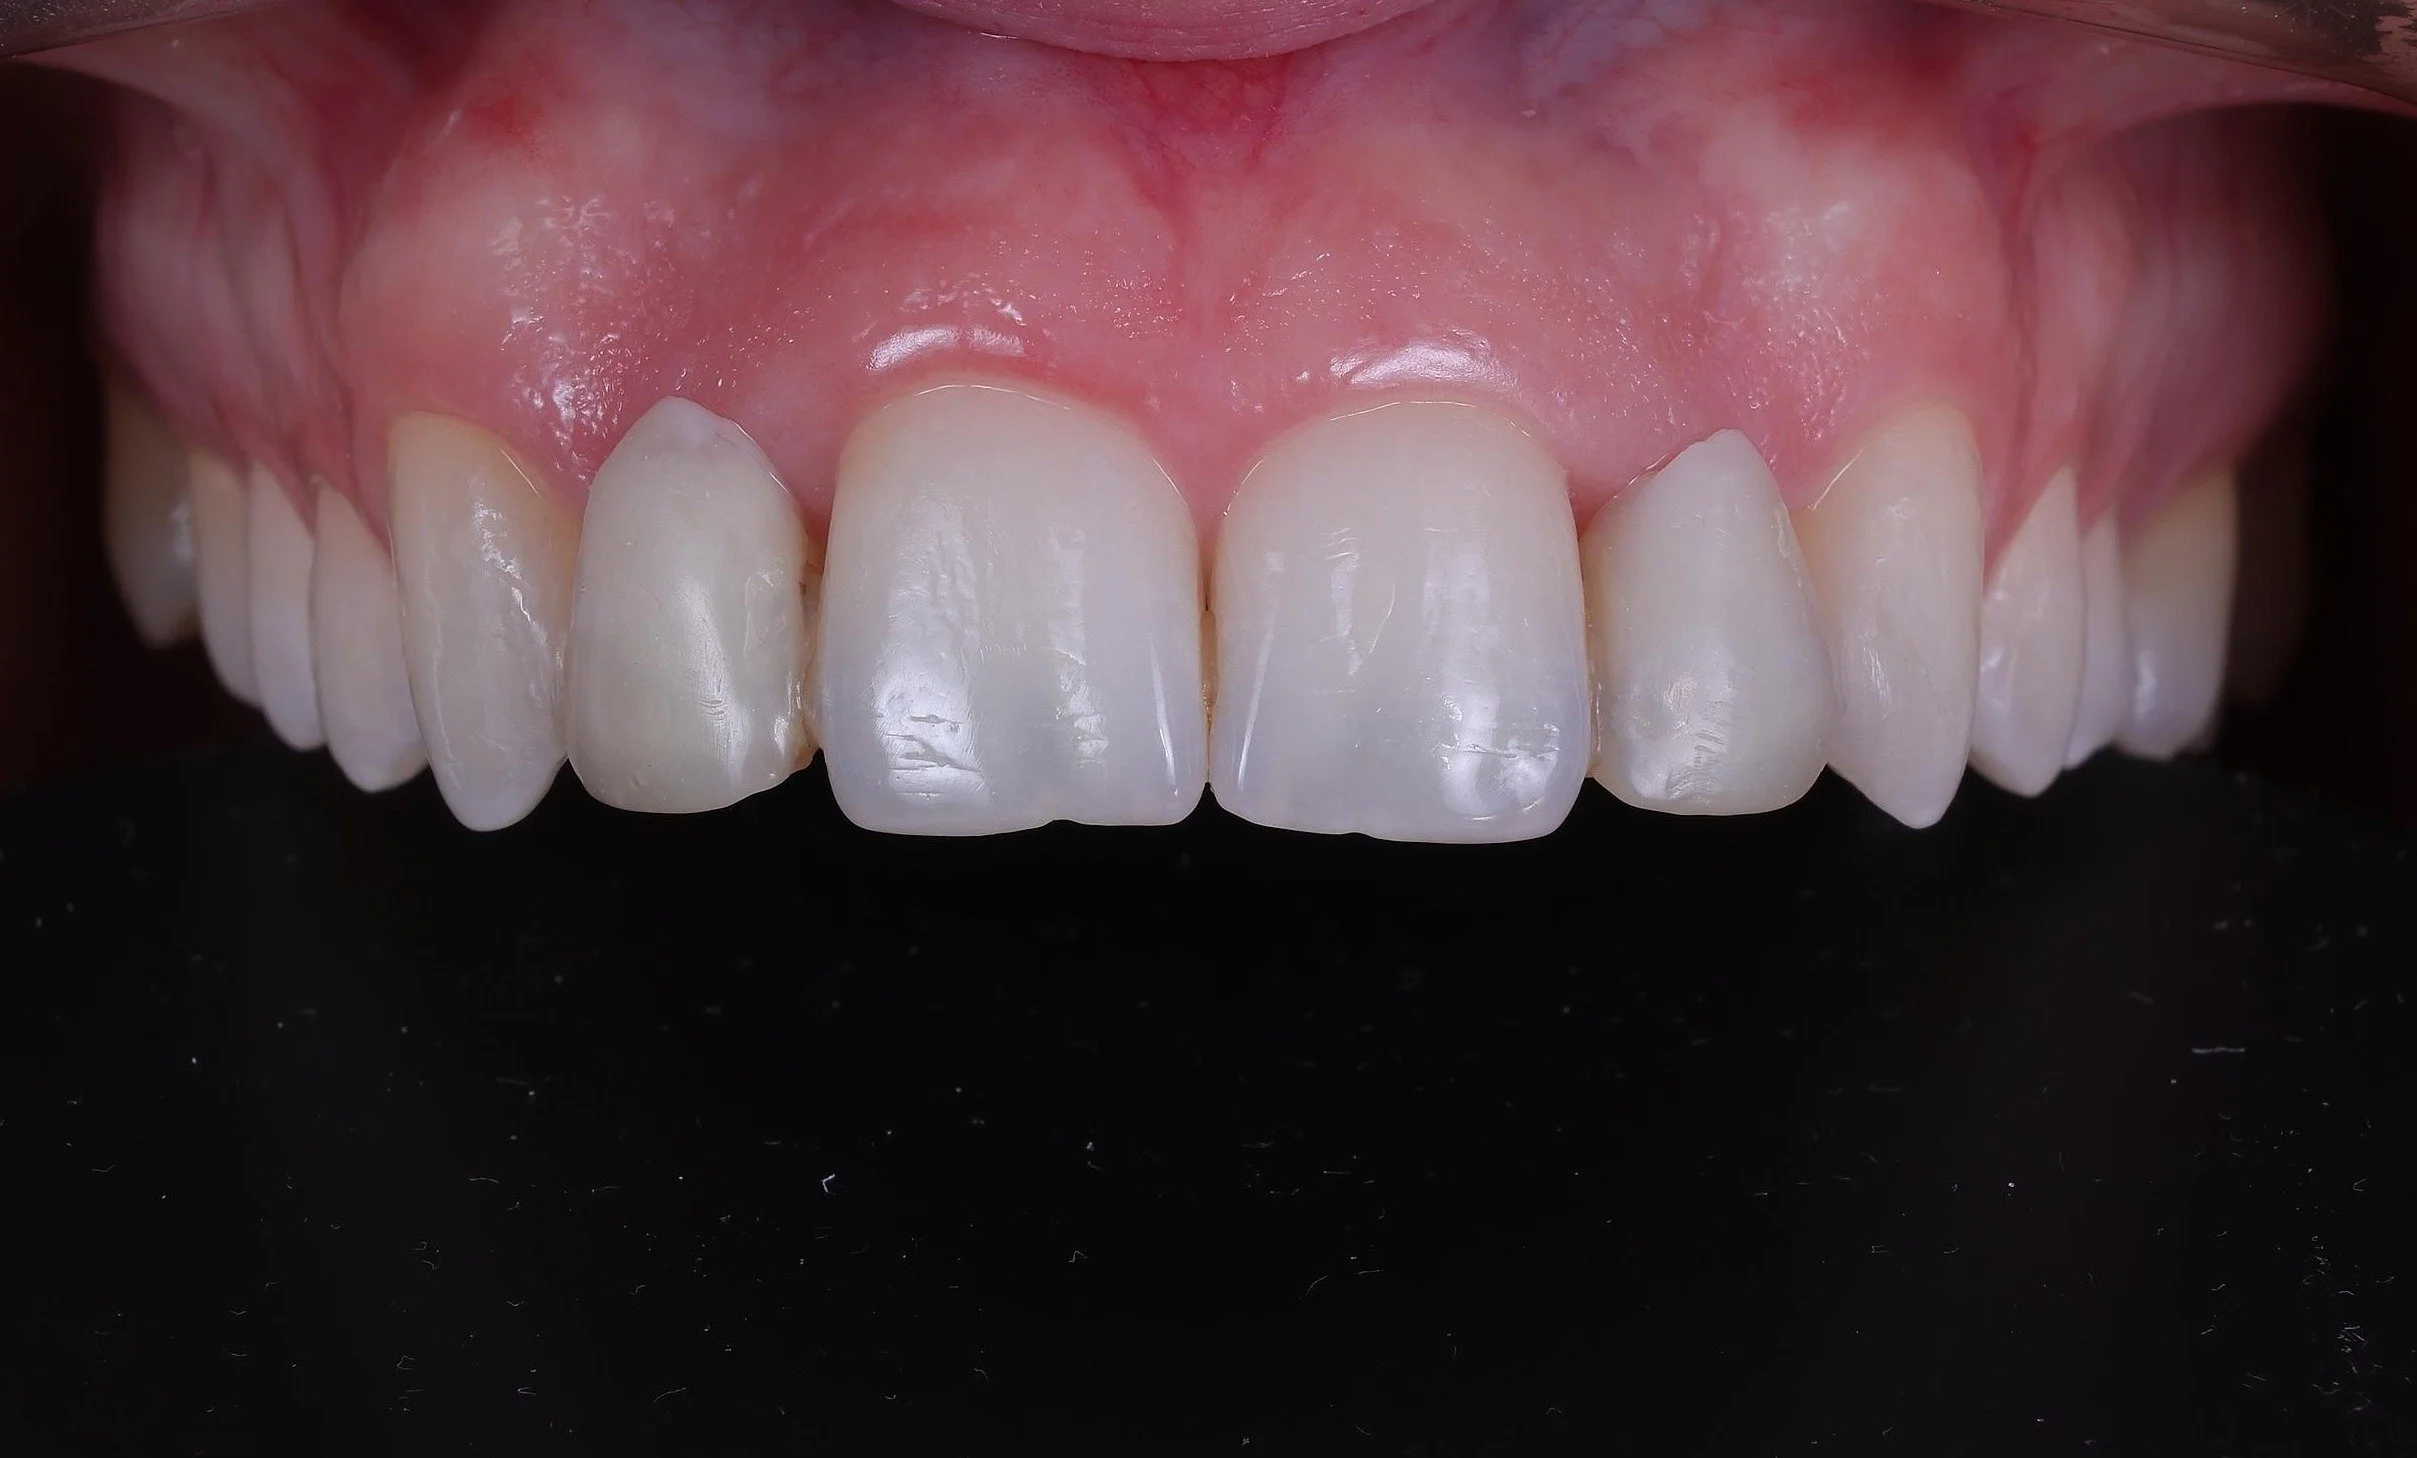
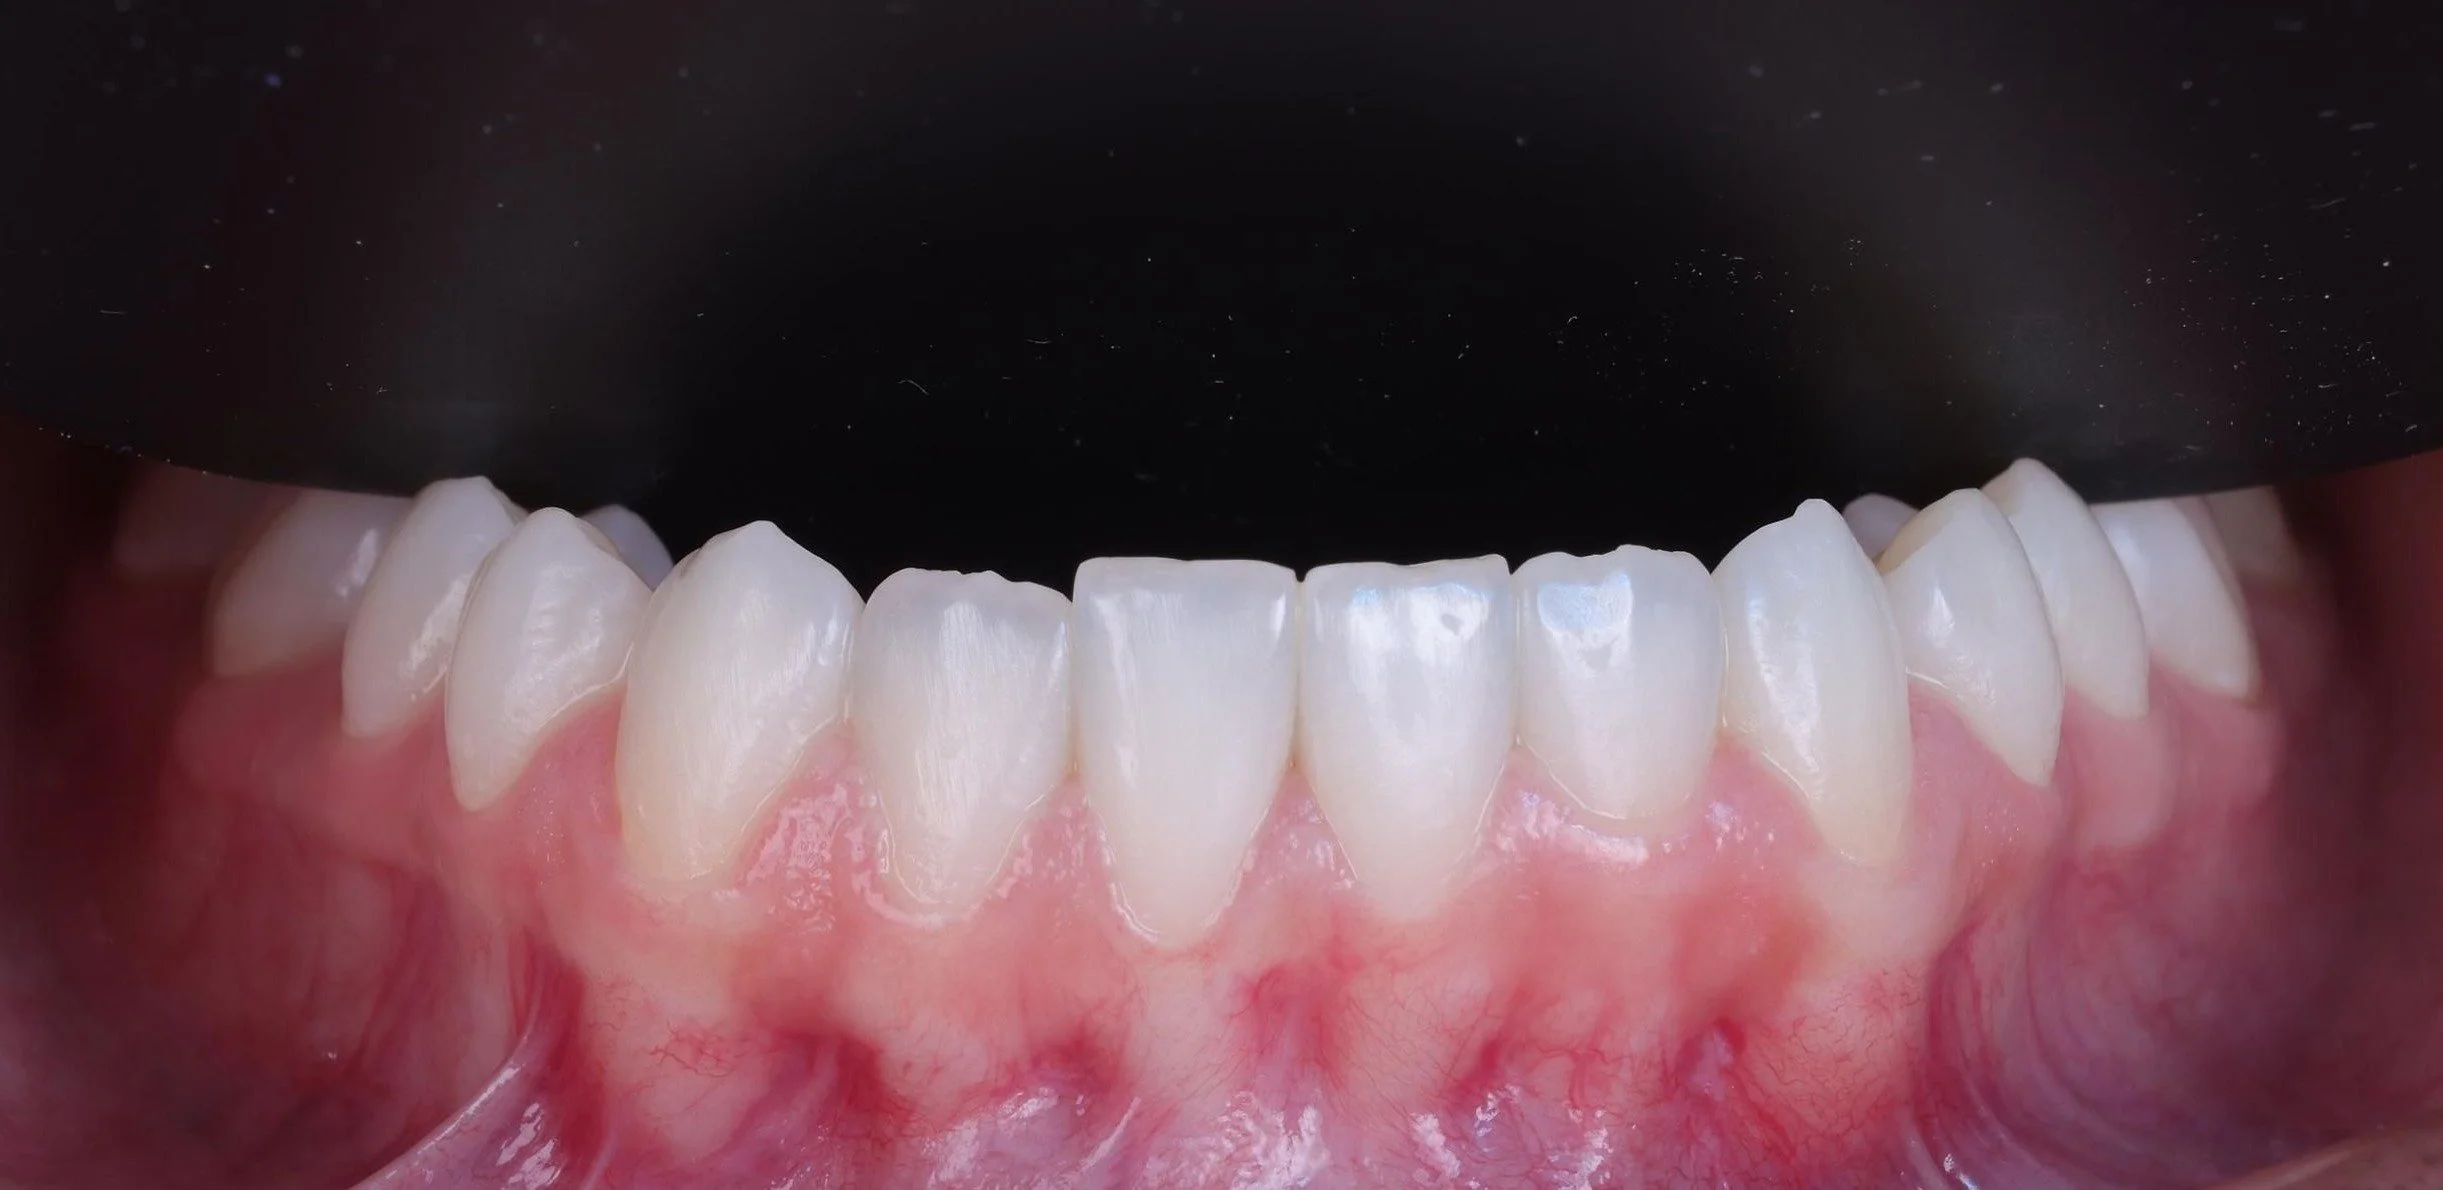
7. Upper and lower front using a contraster
1:2 magnification.
Take the upper and lower front teeth as two separate images.
Use a contrasting black device behind the teeth.
No shadows on the contraster.
Keep the camera level with the teeth.
The midline of the central incisors is the vertical midline of the image.
Show as much of the gingiva as possible.
Retractors, lips and antagonists must not be visible.
Only the teeth, the gingiva and the contraster are in the frame.
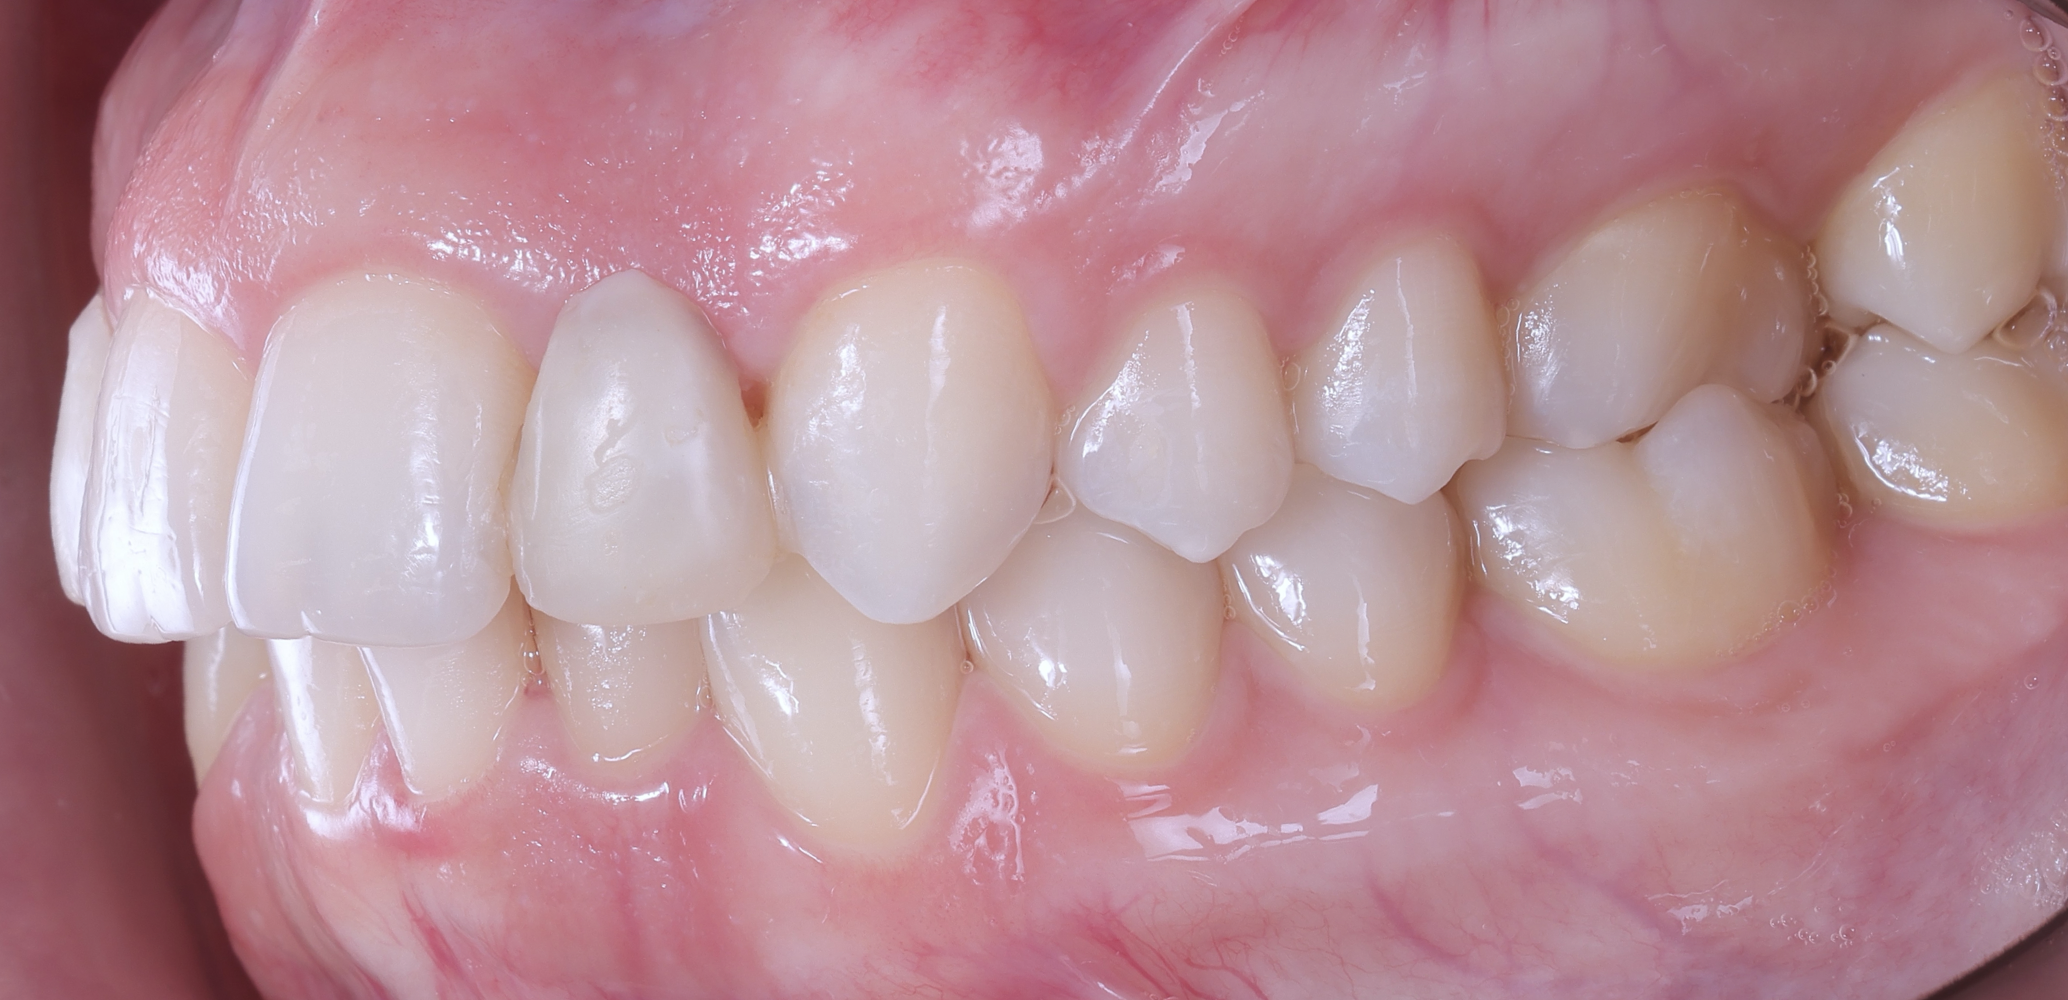
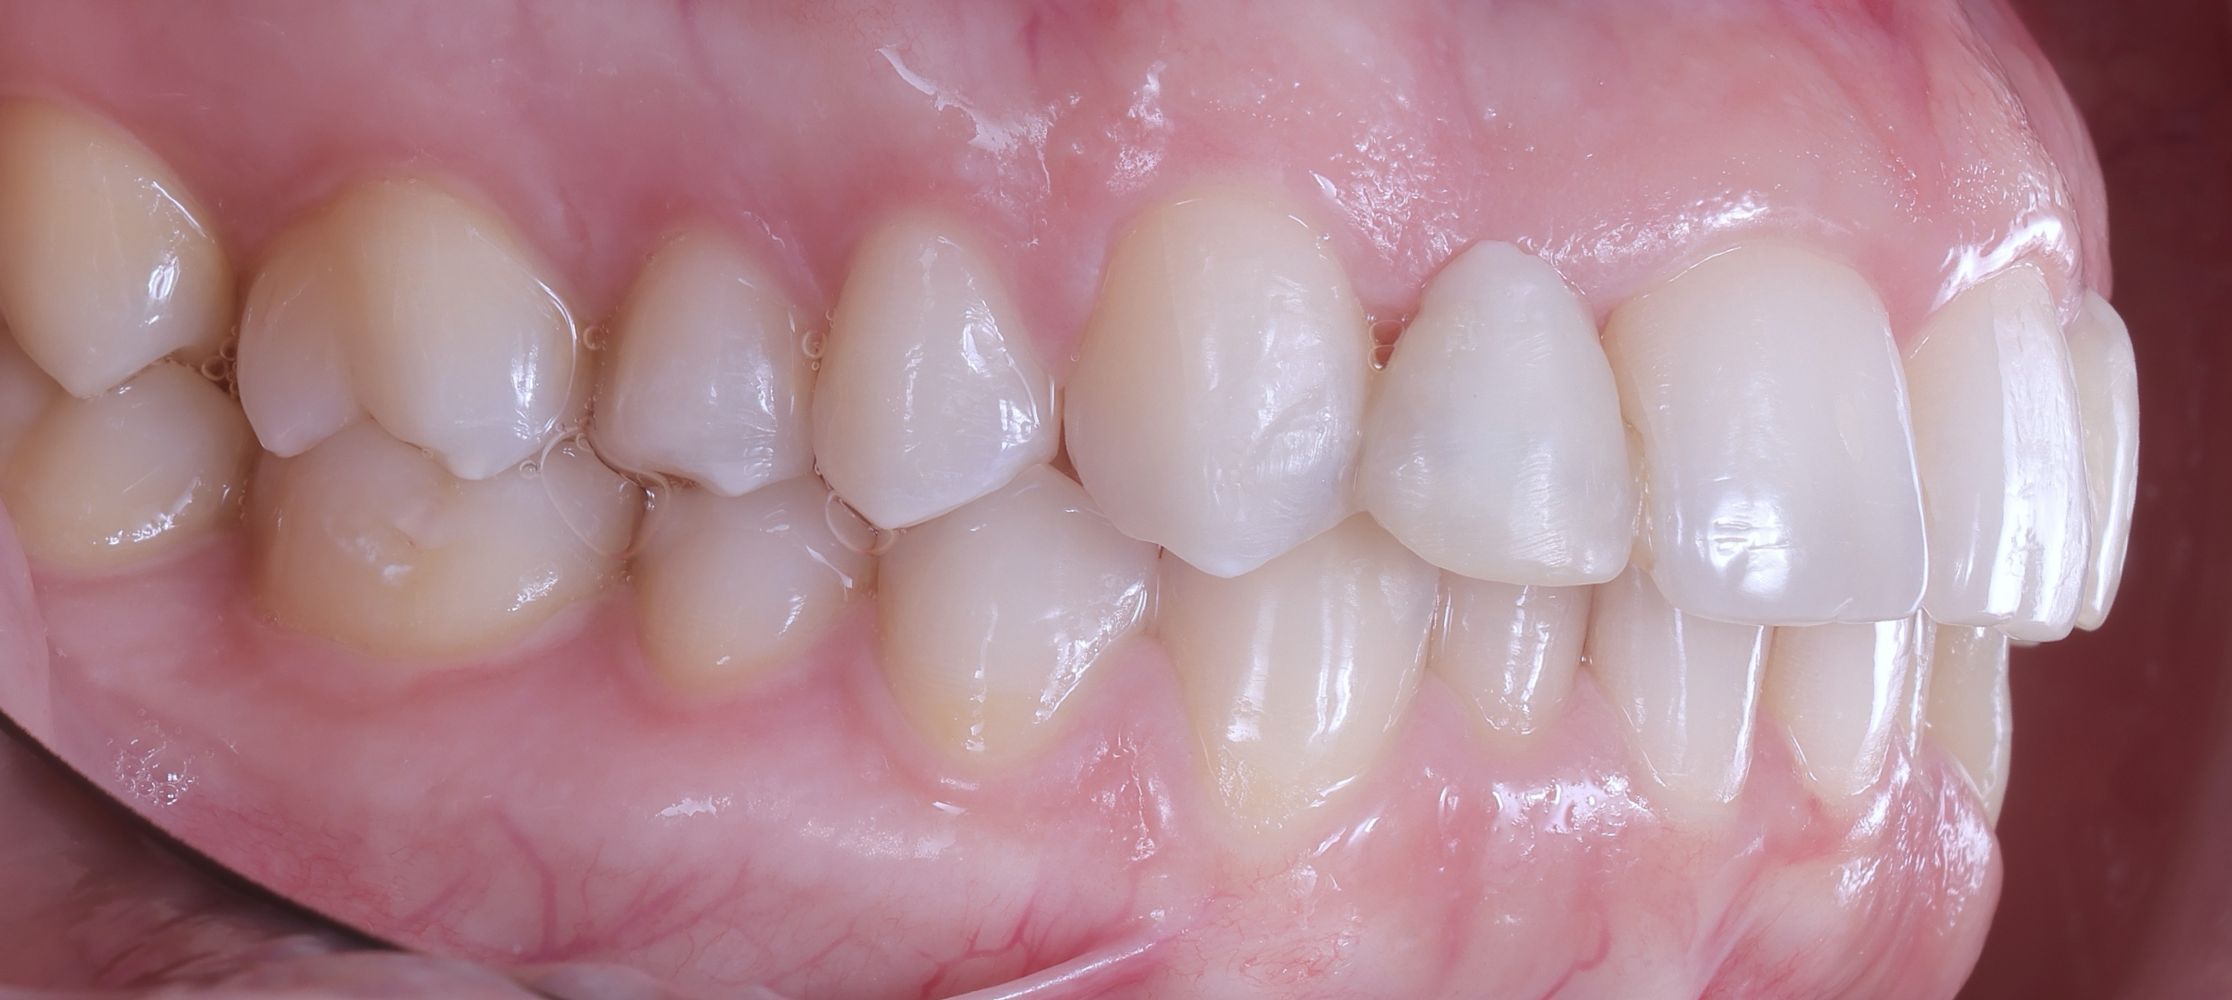
8. Sagittal view: profile in a mirror
• 1:2 magnification.
• Show the front teeth including only half of the contralateral central incisor.
• Show as much of the gingiva as possible.
• Show as little of the retractors and lips as possible.
• The midline of the image is the midline of the canine.
• If possible, the incisal plane of the upper teeth is the horizontal midline of the image, if possible.
• Use a mirror.
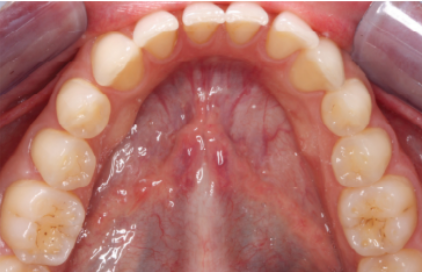
9. Occlusal view of lower teeth
• 1:2 magnification.
• Use a mirror.
• Use a contraster.
• The nose is not visible.
• Crop the image to show as many teeth as possible.
• Camera is at a 45-degree angle with the mirror.
• Tongue is not visible.
• Take the picture facing the patient. If you take the picture from behind the patient, it is recommended that they lie down.

10. Occlusal view of upper teeth
• 1:2 magnification.
• Use a mirror.
• Use a contraster.
• Crop the image to show as many teeth as possible.
• Camera is at a 45-degree angle with the mirror.
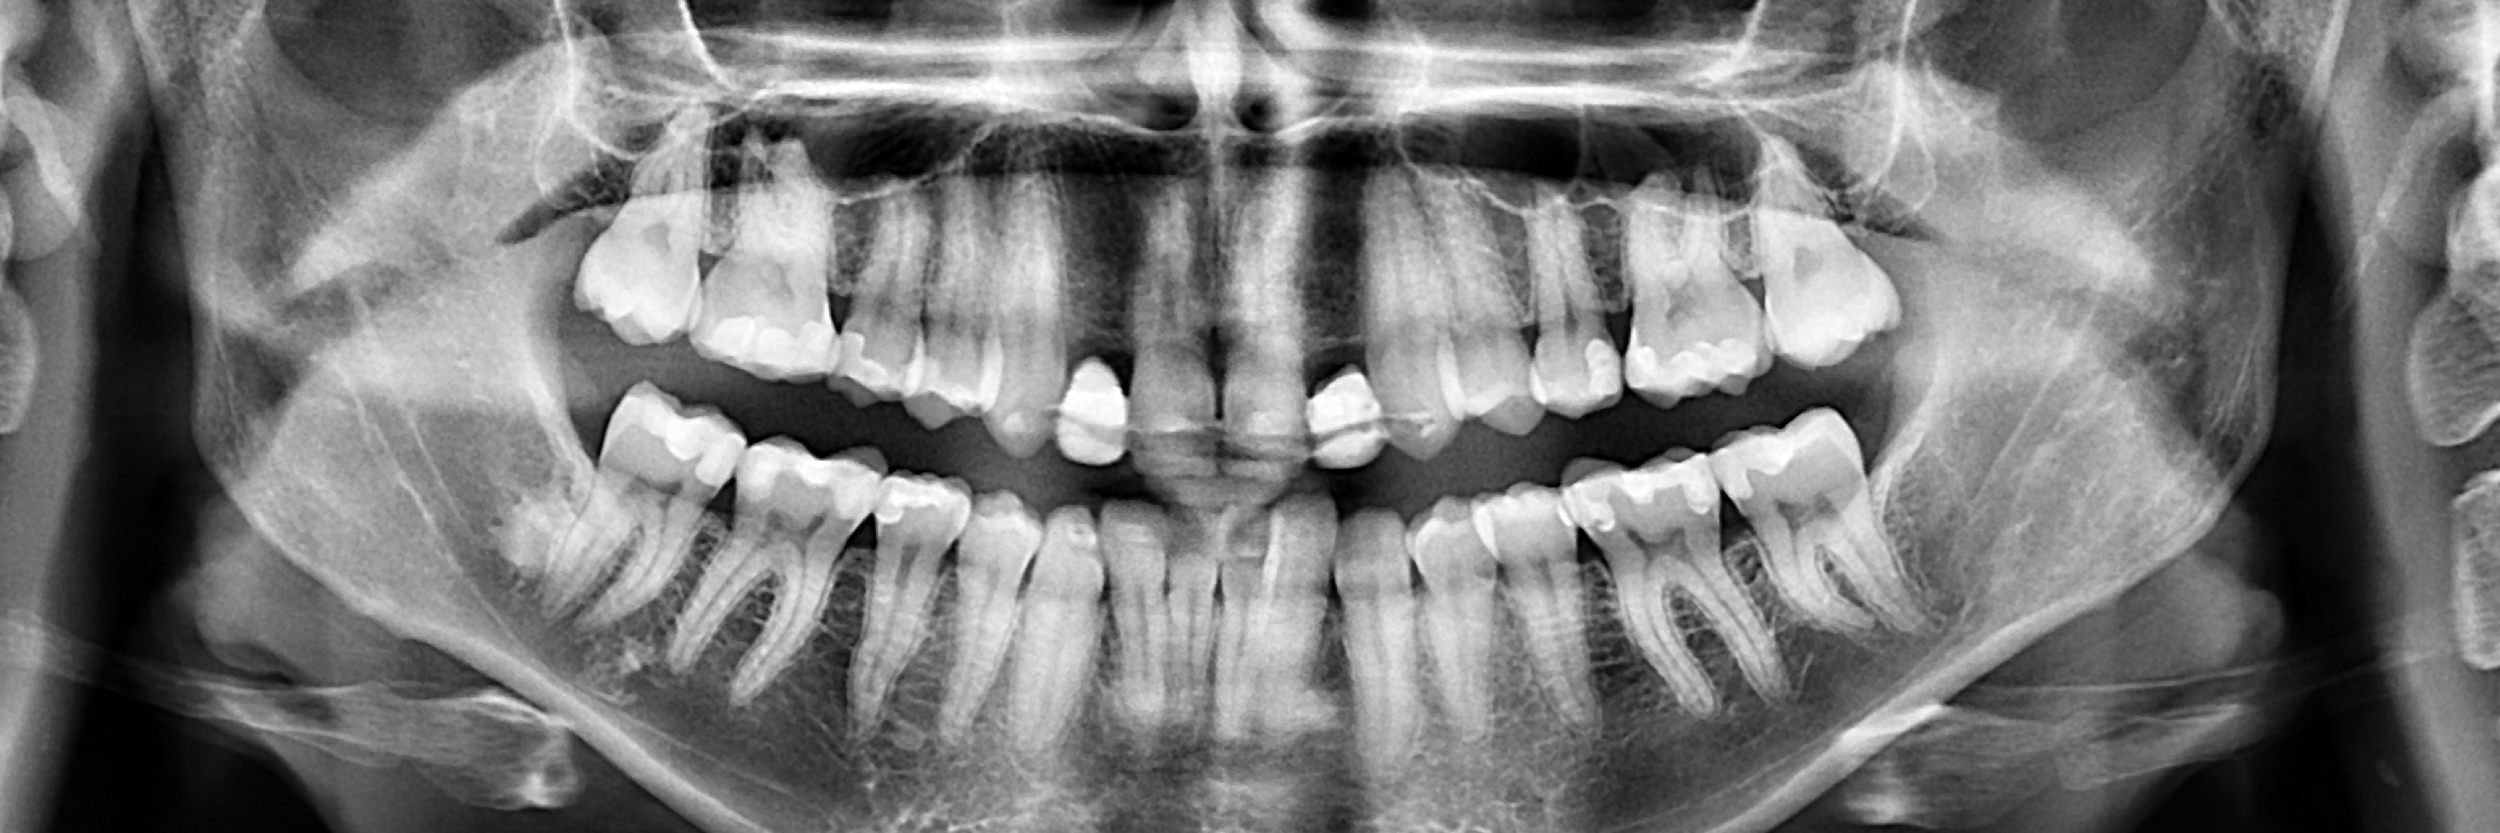
11. Include X-ray images.
During treatment
Photo documentation of the different treatment stages is compulsory.
For the 3D printing part, photos of the following are required:
design process (screenshots)
manufacturing process (screenshots of the printing software)
printed restorations on the platform (photos)
final state (finished work) (photos)
Same photo documentation as in Before Treatment.
IMPORTANT! Include final x-ray (panoramic or periapical).
After treatment
Important
Submissions which deviate from the requirements and do not include all compulsory images will be disqualified and will not be allowed to participate in the contest.
Photo documentation is the main point of evaluation. The jury maintains that the quality of the submitted images relative to the photographic and dental guidelines is a decisive criterion in the evaluation of the submitted clinical cases.